Thursday, February 10, 2011

Last Day in Tulum

Here are some parting shots:
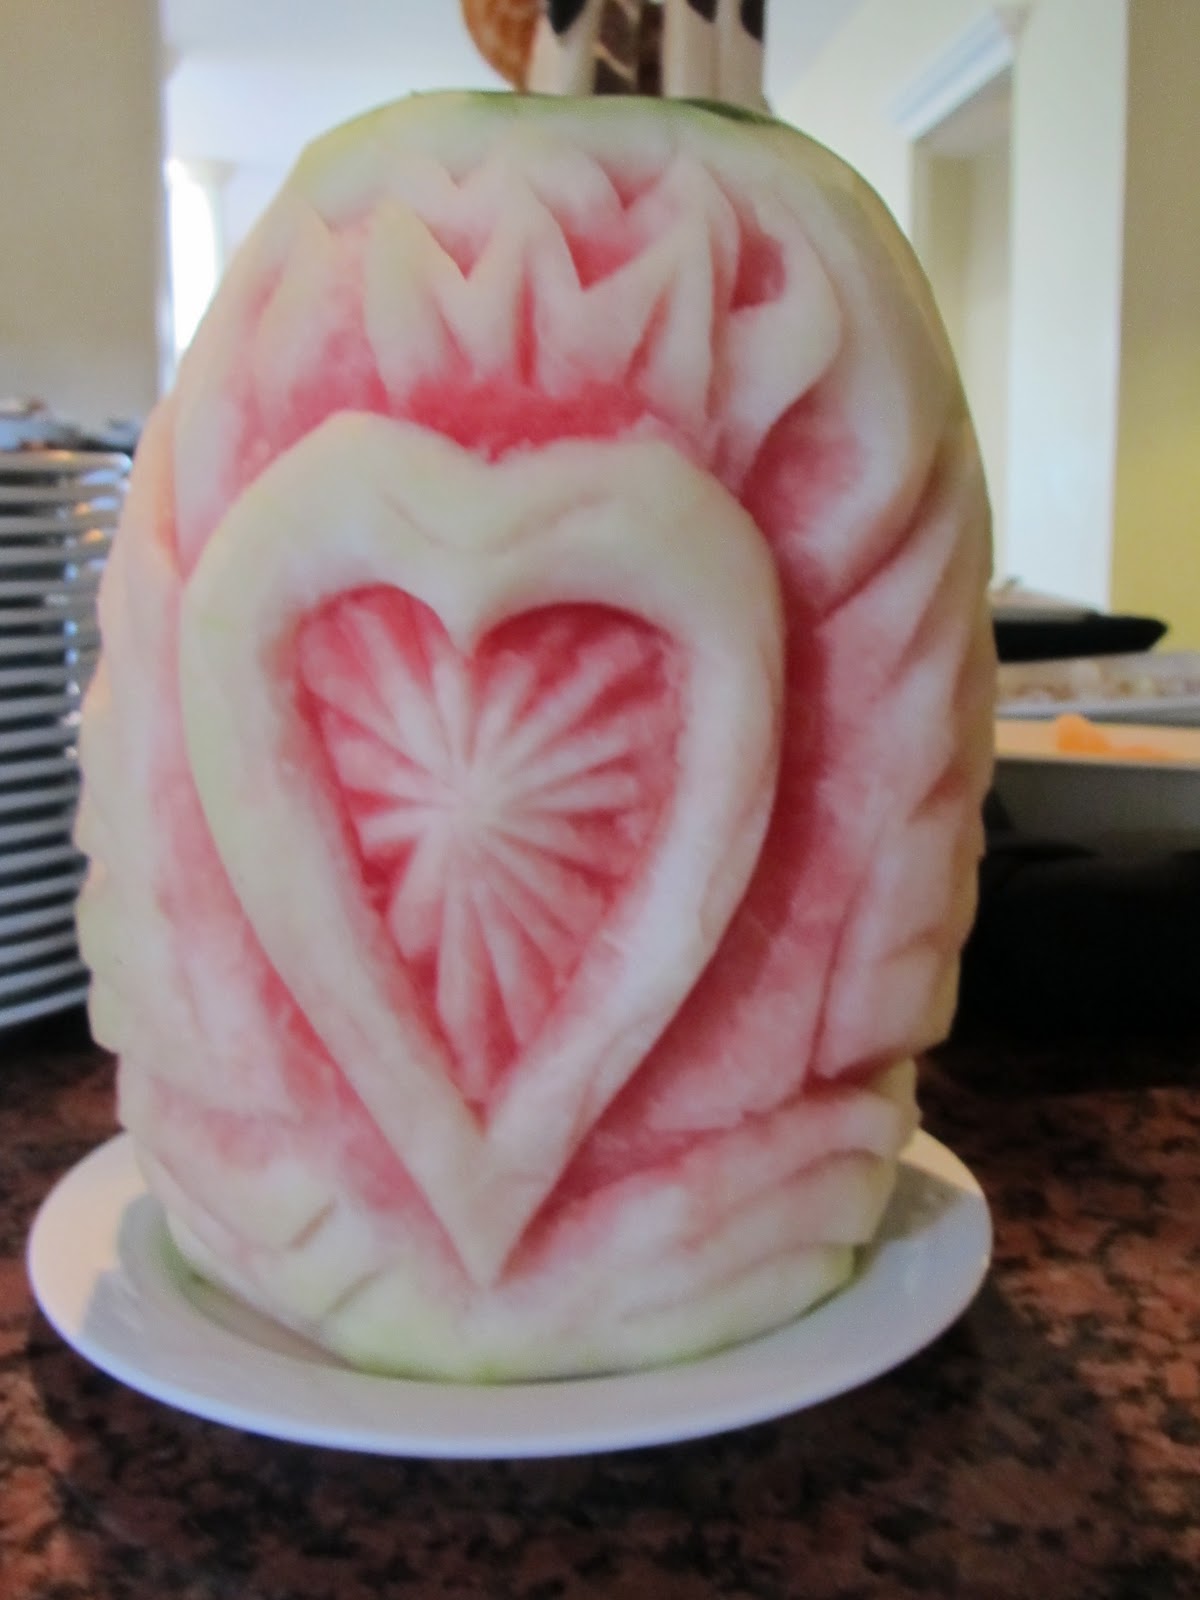
Seen in the breakfast buffet


Iguanas are often called "Mayan Chickens".

What is this tree?  Thorns at the base that resemble 
rose thorns, the bark looks like it has been painted green!


a beautiful hibiscus blossom

....and sadly, no origami towel tonight :-(

Wednesday, February 9, 2011

A Day At Xil Ha

Xil Ha is a natural aquarium located near Tulum.  We visited this place a few years ago and agreed it would be great to return.  Today was spent in the water.  I snorkeled for quite a few hours and saw some amazing things in the water.  Too bad I didn't have an underwater camera or a flip underwater video camera!
Things I saw: many colorful fish, a total of 4 manta rays, one very small and one quite large barracuda, some large parrotfish, and a bunch of conch shells on the floor of the lagoon.  We dove down and picked a few up to examine them (returning them afterward, of course).  Thanks to this maneuver I now have a water-logged ear.  I will be most-grateful when I can hear out of it again.

I love this guy:  he is eating a feather and holding it like a sucker!


Tim makes friends with a Toucan


These guys were making some great music

Our origami towel of the day: a dino (I think)

Tuesday, February 8, 2011

A little rain must fall....

As we enjoyed our view of the ocean from our perch on the beach we could see a squall line forming a few miles offshore.  Eventually, we had to relocate to the porch, then indoors as the rain splashes started to threaten our electronics. (LOL) It is a lovely sort of torpor that has formed over us:  the feeling you encounter when you are completely, utterly relaxed.  So, what's a little rain?
This year, we have decided to be more selective about our activities.  We have been to this area a number of times so we don't feel quite the pull to see and do everything as we have in the past.  Rather, we are more interested in "just breathing", reading, and such.  Tomorrow we will go to Xil Xa, a sheltered lagoon where we can snorkel.  I'm content to read and draw.
A quick gestural sketch of two women playing beach volleyball.
This was done with graphite pencil (as was the one below), but i forgot my sharpener so 
these are probably the only pencil drawings of the trip :-(

the lifeguard station, and the outer edge of my palm umbrella

palm tree and sailboat.
It rained before I had a chance to work into any of these with watercolor!

I'm fascinated with the symmetry of things on this property:
This is an open-air bar in the resort.  Why so many posts?

I love the rows of palm trees beyond the archway

our towel sculpture for the night:  a peacock!


Monday, February 7, 2011

Tulum, Mexico

I am in Tulum, Mexico, for a few days.  My husband's e-team is having an off-site strategic planning session.  We have been in this area before.  It is a welcome change from "winter" in San Antonio.  I think I can hear many of you groaning from this vantage point!  Sorry...
One of my goals during the time I am here is to do some sketching and watercolors.  Just quick little pieces to sort of flex my art muscle.  I need to do more plein air drawing/painting.  I used to do it fairly often and I miss it.
My little clear zipper bag included a small travel-size set of watercolor pan paints, a 5x7 moleskin journal (why didn't I put some absorbent ground or gesso on some of the pages?), a pigma pen, graphite pencil, some Sakura gel pens, and a couple of slightly better watercolor brushes than what is in the tiny little case.

I'll spend more time on making some drawings tomorrow.  I did manage to do one quick little drawing (which isn't great, but it was fun, and I'm not after great here!).  I spent a lot of time listening to the crazy grackles talking and flitting about, the surf, the wind through the palms, and the light chatter of people nearby.  I read most of a good book (ah) and generally had a lovely time, all next to Tim, which made it even better.
Here are a few little shots of the day/evening:
venturing out onto the beach shortly after arrival yesterday


This guy seems to be saying, "Hey you!  You are in my chair!"

towel-as-elephant posing on our bed


my little sketch/watercolor from this afternoon on the beach
(taken in bad incandescent lighting...sorry)

Friday, February 4, 2011

Come Join Us At CREATE! in Costa Mesa California!

CREATE! Cloth Paper Scissors is offering not one, but two, locations in 2011:  Costa Mesa CA in May, and Chicago in August.
Jamie Fingal and I are excited to offer something new in Costa Mesa:
"Sheer Imagination:  A 2-day paper/cloth lamination workshop"

Image in paper
same image, laser-copied, then laminated to sheer, fused and quilted
My apron as "personal armor":  it is all about the journey.
apron detail

Jamie and I have been exploring this method of creating custom imagery on cloth and are excited to have a 2-day workshop to share this method!  In the workshop students will use their own personal imagery to create a mixed-media apron.  Please consider joining us for this workshop on Friday, May 20th, and Saturday, May 21st.  Class registration opens online February 8th.  Sign up here for email updates.


Thursday, February 3, 2011

Sketchbook Challenge Theme for February: Opposites!

I hope you have decided to follow along with us as we create pages in our sketchbooks for each monthly theme.  February's theme is chosen by Laura Cater-Woods:  Opposites.  Please stop by the Sketchbook Challenge blog and take a look at what everyone is doing.  Check out the amazing work on our Flickr site.
I hope you consider joining the project.  Nothing is more intimidating than the blank page/canvas/cloth.
The only way around it is through it.  It is the rare individual who is born with the ability to draw or paint well.  Most of us have to develop our skill set by using it frequently, learning from our experiences.  There is no magic involved:  experience is the teacher.

last January page:  "Highly Prized:  My Women Friends"

detail

Is it finished?   I think not.  Since I have a couple of ideas about the next step I decided to think about it for a bit and move on to something else using the new theme.  I've been working on some collaged pages to use as foundation pages, and I think these are good starting points.  I'll post about the process of these pages here and on the Sketchbook Challenge blog once I have added another layer or two.
What do you think?  Is this page finished?  I would be curious to know.

Tuesday, February 1, 2011

Don't Go "Sleeveless"...

Seen on the Quilting Daily email blast today:
A Guide to Making a Quilt Sleeve

In case you missed it, we just revealed the finalists for the Quilting Arts Magazine 2012 
Calendar on my Editor's Blog.
We always get an incredible response to our reader challenges, and our Quilting Arts 
Magazine 2012 Calendar contest was no exception. It amazes me how our reader/artists 
can take a broad theme 
(in this case, “Getting Pet-ty”) and translate it into a compelling, beautiful, heart-warming, 
thoughtful, or funny (sometimes all of the above) image through fabric, thread, and 
embellishment.
Bolton Fingal JenisonOne thing that continually surprises me, though, is that 
when we require the finalists of any challenge to attach 
a quilt sleeve for hanging, we get numerous emails asking,
 “How do you make a quilt sleeve?” Or, “Exactly what 
kind of quilt sleeve do you want?”
Although attaching a quilt sleeve isn't necessary for every 
art quilt and it certainly isn't the most fun part of quilting, 
it is almost essential if you're submitting a quilt to an 
exhibit or contest.
For this reason, I asked Leslie Tucker Jenison to demonstrate 
how to make quilt sleeves on an episode of "Quilting Arts 
TV," airing in Season 7. She and her buddy Jamie Fingal 
did an entire segment on preparing your quilts for entering shows. Both are 
award-winning mixed-media and textile artists who are quilt show veterans.

Here's an overview of Leslie's quilt sleeve tutorial, with her photos:

1. Cut a piece of cotton fabric to the exact width of your quilt by 9 inches deep.
quilt sleeve step 1
2. Fold and press each edge into a ¼ inch fold.
quilt sleeve step 2

3. Then turn again and press so raw edges are concealed.
quilt sleeve step 3


4. Stitch the folded edge in place on both ends. Then stitch the length of the quilt sleeve "tube" (right side facing inward).
quilt sleeve step 4


5. Turn the tube inside out.
quilt sleeve step 5


6. Press the sleeve tube so the seam is on one edge and the fold is on the other.
quilt sleeve step 6

7. Baste the folded edge with the longest machine stitch possible.
quilt sleeve step 7

8. Then, roll the basted stitch to the top center of the sleeve so the basted stitch is situated over the other seam, which will be situated against the quilt back.
quilt sleeve step 8

9. Pin the quilt sleeve to the quilt back one inch below the top of the quilt. The width should allow the sleeve to be positioned approximately one-half inch from each edge.
quilt sleeve step 9

10. Stitch the sleeve securely in place. Be sure to whip-stitch the ends to the back of the quilt, which assures that the hanging device is inserted into the sleeve properly. It helps to take an extra stitch every 4-5 stitches so the sleeve won't become loosened from the quilt if it is hung in multiple venues. Check to be sure that the stitches do not go through to the front of the quilt!
quilt sleeve step 10


11. Once the sleeve has been securely stitched to the quilt back, remove the basting stitch from the sleeve. This tuck allows room for the hanging device to be inserted without creating excessive tension on the front of the quilt.
quilt sleeve step 11
NOTE: It is important to attach the name of the quilt and the artist's name and contact information onto the quilt sleeve, as well as the date the quilt was completed.
Want more tips and other quilting instructions? You can watch Leslie create a quilt sleeve in detail and get tips for preparing your quilts for shows from her and Jamie, on QATV” Series 700, now available on DVD.