"Hi! My name is Bizzi..."
If you have visited me before, either here or on FB or Instagram, you know about my little studio assistant. She is my little shadow and follows me everywhere I go. In my studio, she is a constant presence, even signaling me when enough is enough and it is time to stretch and play! She has several ways of doing this: the most amusing one being to pull a piece of fabric off my shelf and stand in front of me until I notice it....then she runs away shaking it vigorously! We refer to this as her "Schnauzer sense of humor".
Since she is such a part of my studio life I opted to create my block for the RJR "Common Threads" quilt seen at Quilt Market 2016 using her likeness. This block is really fun to make and it is versatile.
I will be creating a quilted pillow, but I think this block would be really fun as part of a tote, a mini-quilt, a panel on a jacket, and more. Plus, Bizzi loves the PR this project gives her and it elevates her social media status....
Here is the finished quilt using each of the RJR designers' blocks.
Interesting how so many of us opted to include our pets!
Let's get started, shall we? First, go to the RJR site to download the block template. Feel free to draw your own version of this block. Trust me, it is easy to do!
Once you have the template you can choose the prints for each piece of the image. The fabrics must be pre-fused. I recommend fusing pieces of fabric prior to cutting the various shapes. Some of these pieces are small and it is much easier to handle the fusing, then fussy cut each shape. Ask me how I know...!
My choice of fusible is
Mistyfuse. Why? Because it is so sheer that it does not change the hand of the cloth after the fusible is applied. This is important for useful items. Who wants a piece of cloth that becomes stiff as a board after fusing? Not me, that is for sure! When you use this product you will need either two
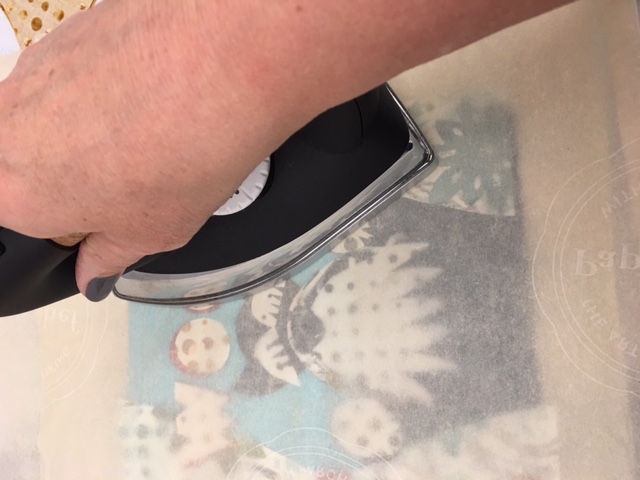
Goddess Sheets (teflon pressing sheets) or two pieces of kitchen parchment paper: one to use under the project and one over the top to protect your iron and the ironing surface. Another VERY useful tool to have on hand is a cheap "
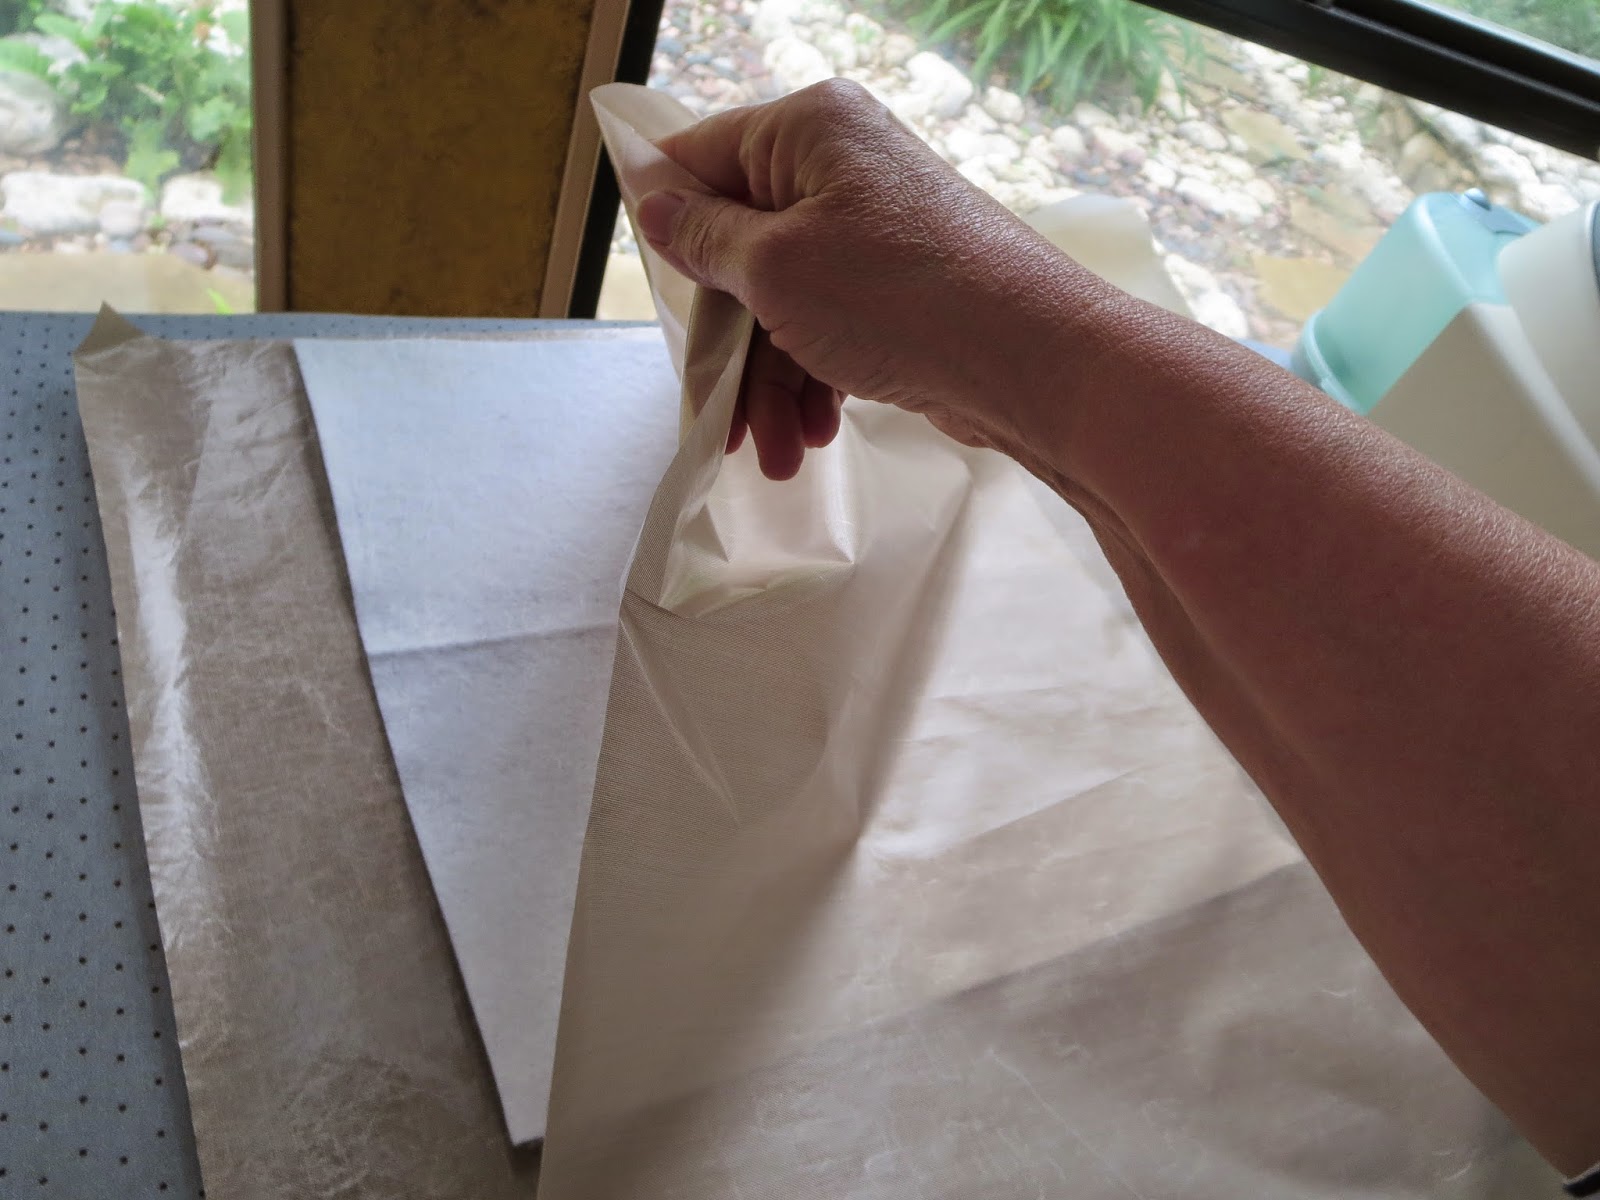
scrubbie" (the cheap plastic ones used in the kitchen to clean pots and pans). I purchase a set of these rectangular scrubbies, sans sponge, and cut them into quarters for use in the studio. Once you have fused your fabric, allow a few seconds for the parchment or teflon sheet to cool off before peeling back the surface. After removing the fused fabric, quickly "scrub" the surface of both pressing sheets lightly to remove any hidden bits of the fusible that might have adhered to the surface. This prevents any stray bits from being accidentally fused on something else.
I keep one at the edge of my work area and it is a habit to lightly scrub each surface that has had contact with the fused project.
Remember: you are applying fusible to the WRONG side of the fabric!
For convenience I used a piece of notebook paper to cut a few of my pattern pieces,
just to keep the size in perspective. Feel free to trace and cut every piece, but you may
find that it isn't necessary once you have the main pieces figured out.
Here is a shape I used for the main part of her beard. I traced this onto the wrong (fused) size of the fabric, then cut. I later cut individual points at the lower part of her beard.
Here are here oversized eyebrows. I first cut the main shape, then clipped the smaller
details at the base of the brows.
I selected the dark print to contrast with her brows and beard.
Here is my template for the top of her head...
and here it is after cutting. I used the shredded print in charcoal to add another element on her face,
a sort of "handlebar mustache"!
I used the same dark charcoal from the "Box Springs" print for both top of head and the nose.
Paws: made from two oval shapes using charcoal Box Springs for the background,
and the gray Linear Gradation print for the front of the paw (as used in the beard and brows).
Again, I first cut the basic shapes and then clipped the hair detail.
I chose the dark teal "Box Springs" for the base of the window sill,
and the aqua "Vertical Garden" for the curtain shapes, and the Tiffany Box RJR Solid
for the background. (Ignore the seam in the center of the solid: I simply pieced it together because
I was running out!).
All these fabrics, once pre-fused, were cut to the shapes of the template.
Working over my parchment paper I placed everything before fusing.
I used the deep red Box Springs print for the background of my lettering and also the
tie-backs for my curtains....
The overlay of my letters was cut from the "Curry" colored linear gradation on white.
The main thing is to select prints that have a dark background and a contrasting lighter color
on the letters. I cut the lighter pieces slightly smaller and offset them for visual interest.
Note that I have another parchment sheet between my project and the iron! Important to do this
to prevent any tiny bits of fusible from adhering to the iron surface!
Once the pieces have all been fused, trim the block to 8 1/2 inches square.
For the sides I selected the "Moss" colored "Linear Gradation" print. I like that this green picks up on the small elements of green in the other prints. I cut two 8.5" by 5.5" pieces to piece to each side.
Next, I cut two 18.5 by 5.5" lengths of fabric. Piece one on top and bottom of image. Press.
Cut a 19.5" piece of low-loft batting and backing (the choice of backing doesn't matter as it will face inside the pillow. Pin fused/pieced project to the batting and backing. Quilt.
I chose a matchstick quilting method and light-medium gray thread as I didn't want to change thread colors at all. The gray works beautifully with all the colors in the prints, and basically disappears in the image....
Using my dual-feed attachment on my Bernina 770QE (or you may use a walking foot) I started in the center of my image and worked to each edge doing straight line quilting in rows approximately
1/8" apart.
I used a stitch length of 2.25 and stepped over 2 stitches between rows.
Once the entire surface was quilted I trimmed the piece to 18". Next, I cut two separate pieces of the deep red "Box Springs", 18" by 12".
I opted to stitch one of my selvedges to the section that will be outermost as I like the way it looks!
For the second piece of the pillow back I folded the right side of the fabric twice, pressed, then stitched. This section will lay under the selvedge edge.
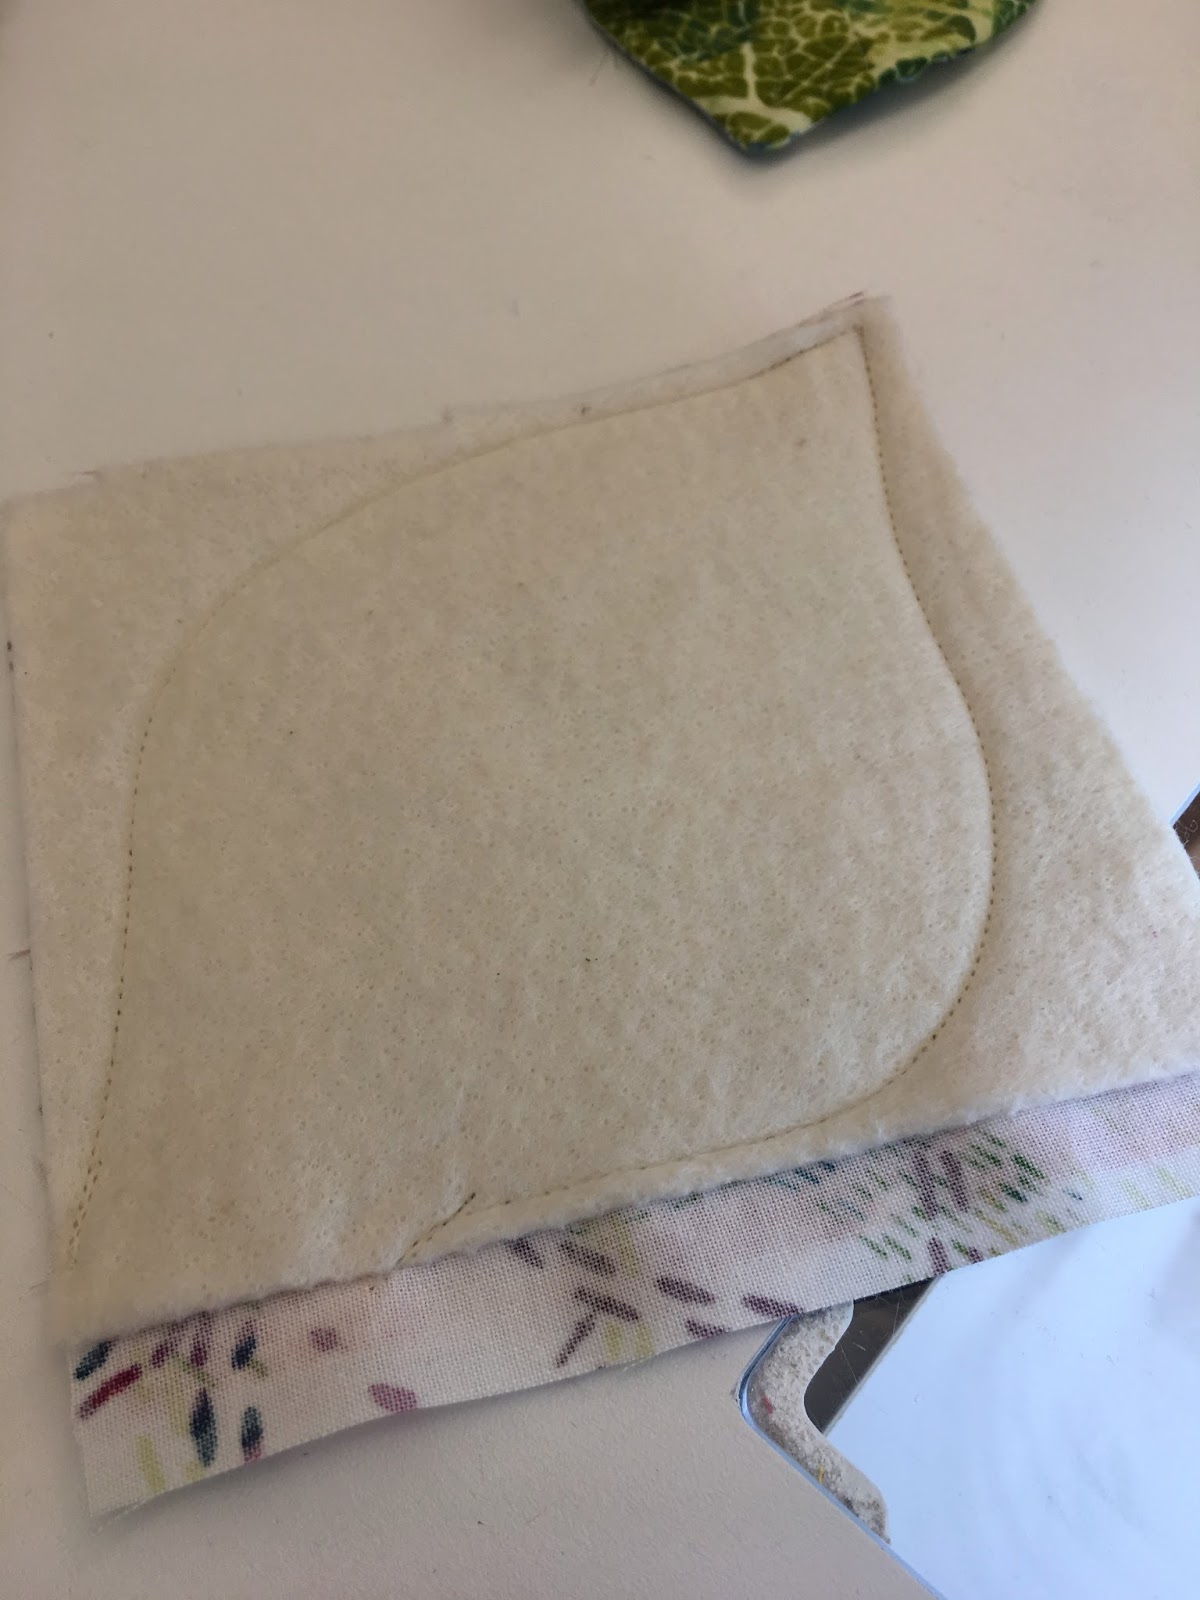
I plan for the selvedge to remain exposed on the finished pillow so I am careful to place my two back sections so that the selvedge finish is placed in the proper orientation to the dog face. This is the piece that should be positioned, front side facing down, against the quilted surface FIRST, then overlap the second piece so that the finished edge is facing in toward the center. Note: these pieces have a significant overlap so there is no need for a closure.
Pin these in place around the edges. Stitch all the way around the perimeter allowing for the seam allowance. Back stitch two or three times at each corner as well as along the sides where the opening overlaps. These are areas that will have some stress applied to them when turning the project inside out, and also when stuffing the pillow insert, so the extra stitching prevents seam separation.
After stitching trim the corners diagonally to remove excess bulk.
Then, trim excess seam allowance about 1/8" from seam for approximately 1.5" from each direction of all 4 corners. This makes turning the project right-side-out much easier.
You may choose to push the corners with your finger or gently use the tip of a pair of scissors, just be careful not to poke all the way through!
Yay! I have a nice opening and I actually got the selvedge piece where I want it!
Now, at the ironing board, secure the seam edges by steam-pressing.
Lovely!
I didn't mention this earlier but before I started quilting I "fussy-cut" several elements from the prints
and fused them onto the borders to add a bit more interest. This is optional, of course, but I think it
adds a little something extra!
See the coneflower? I fused it in place before the quilting...
as well as a few other floral elements seen in the border pieces.
This pillow is nice and squishy!
I think this cute pillow is "Bizzi-approved"!
Please let me see your projects when you finish them. I can't wait to see what you make!
Drop me a comment. I love hearing from each of you! Thanks for stopping by.