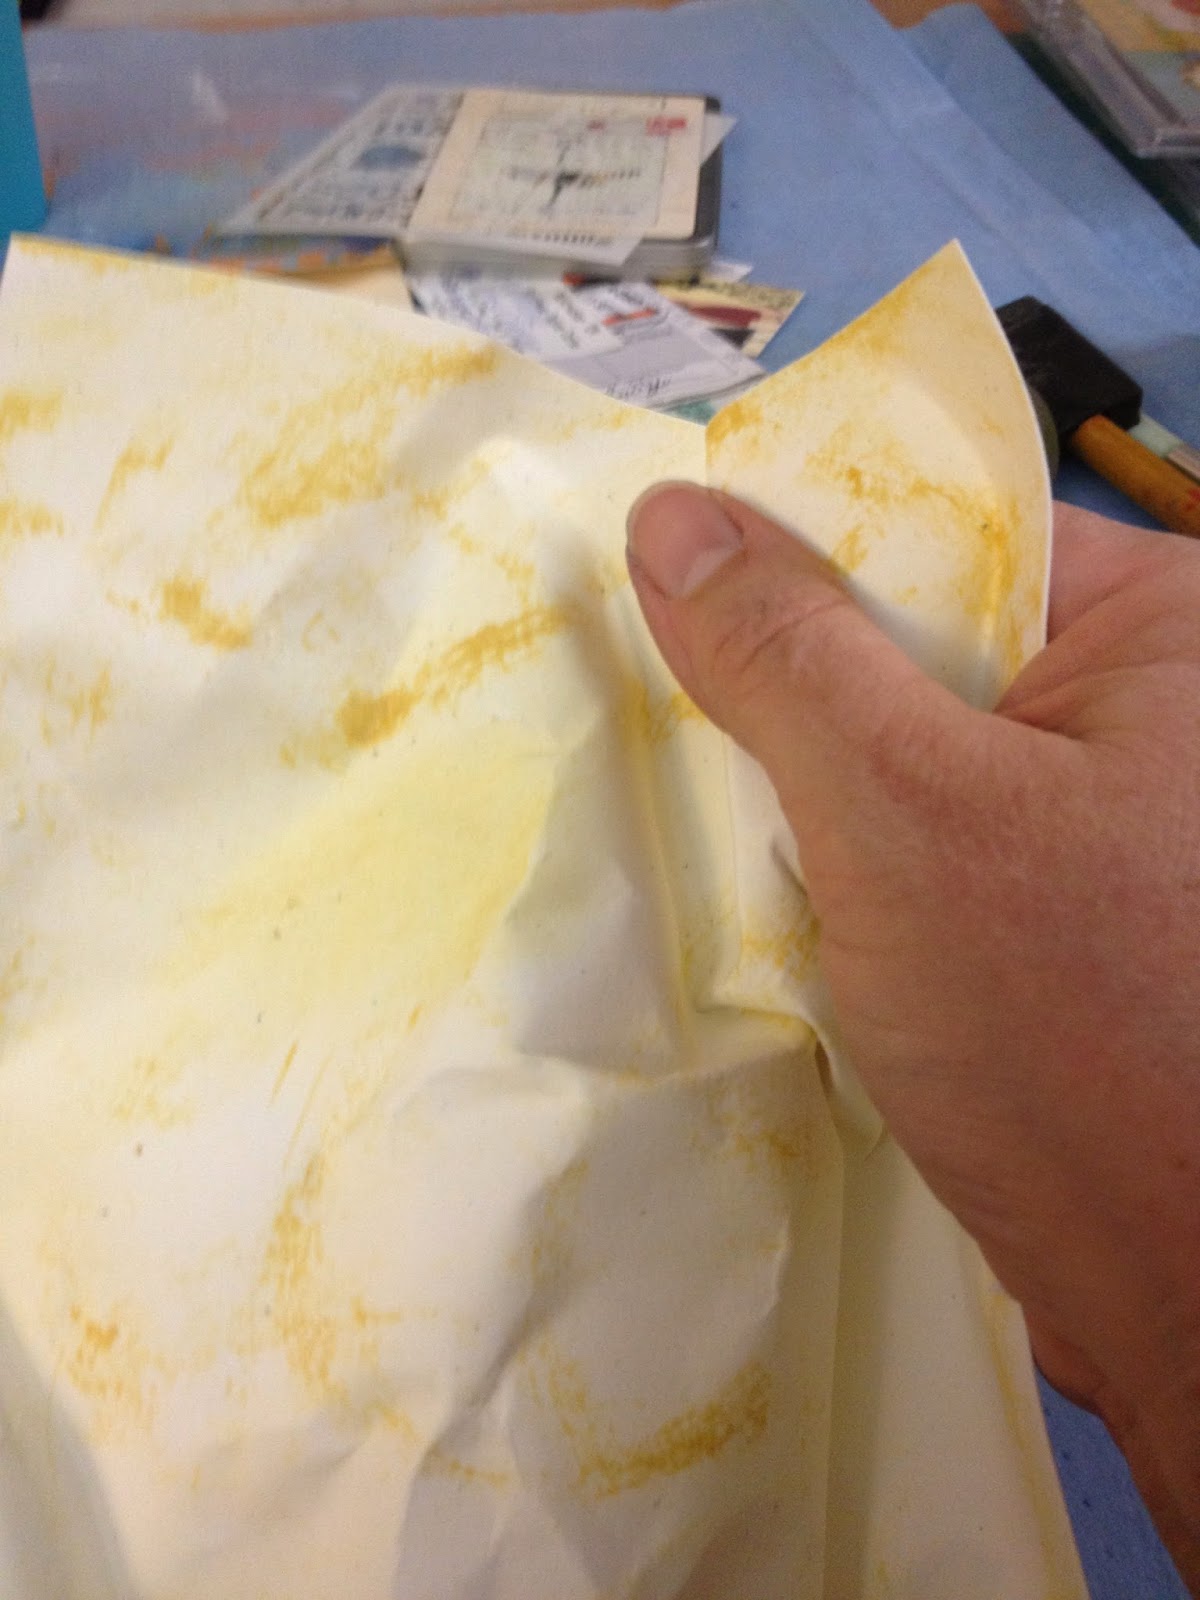
When Sue Bleiweiss invited me to be a contributing artist in her new book I jumped at the opportunity to participate. First, I like and respect Sue as an artist and author. Second, I love to use fusible, and when I say fusible I am ONLY referring to Mistyfuse because it is the only kind I use! It works beautifully on a wide variety of quilt and mixed media projects. I love using Mistyfuse on both cloth and paper! I work with silk organza a great deal. Nothing, and I mean NOTHING will allow your sheers to look like they are supposed to: transparent and with a lovely non-stiff hand, like Mistyfuse.
For my project in the book, a small piece called "Labels", I opted to use silk organza, a wool-blend felt for the substrate, and a wide variety of clothing labels. I wanted to show how much fun it can be to work with silk organza (in this case, a piece of my hand-dyed) as the layering possibilities are endless. I discovered how cool it is to cut two different shapes from (as it turns out) two different die cutting systems and create an entirely new look.

"Labels"
First, I pressed the felt, organza, and the clothing labels so they were as crease-free as possible.
I applied Mistyfuse to the surface of the felt and the "wrong side" of the organza by placing a Goddess Sheet under and over the surfaces of each.


Note: This is one of the two places I use rechargeable electric scissors:
Cutting Mistyfuse off the roll is a breeze with these, especially when working with organza.
Organza tends to have a great deal of static electricity.
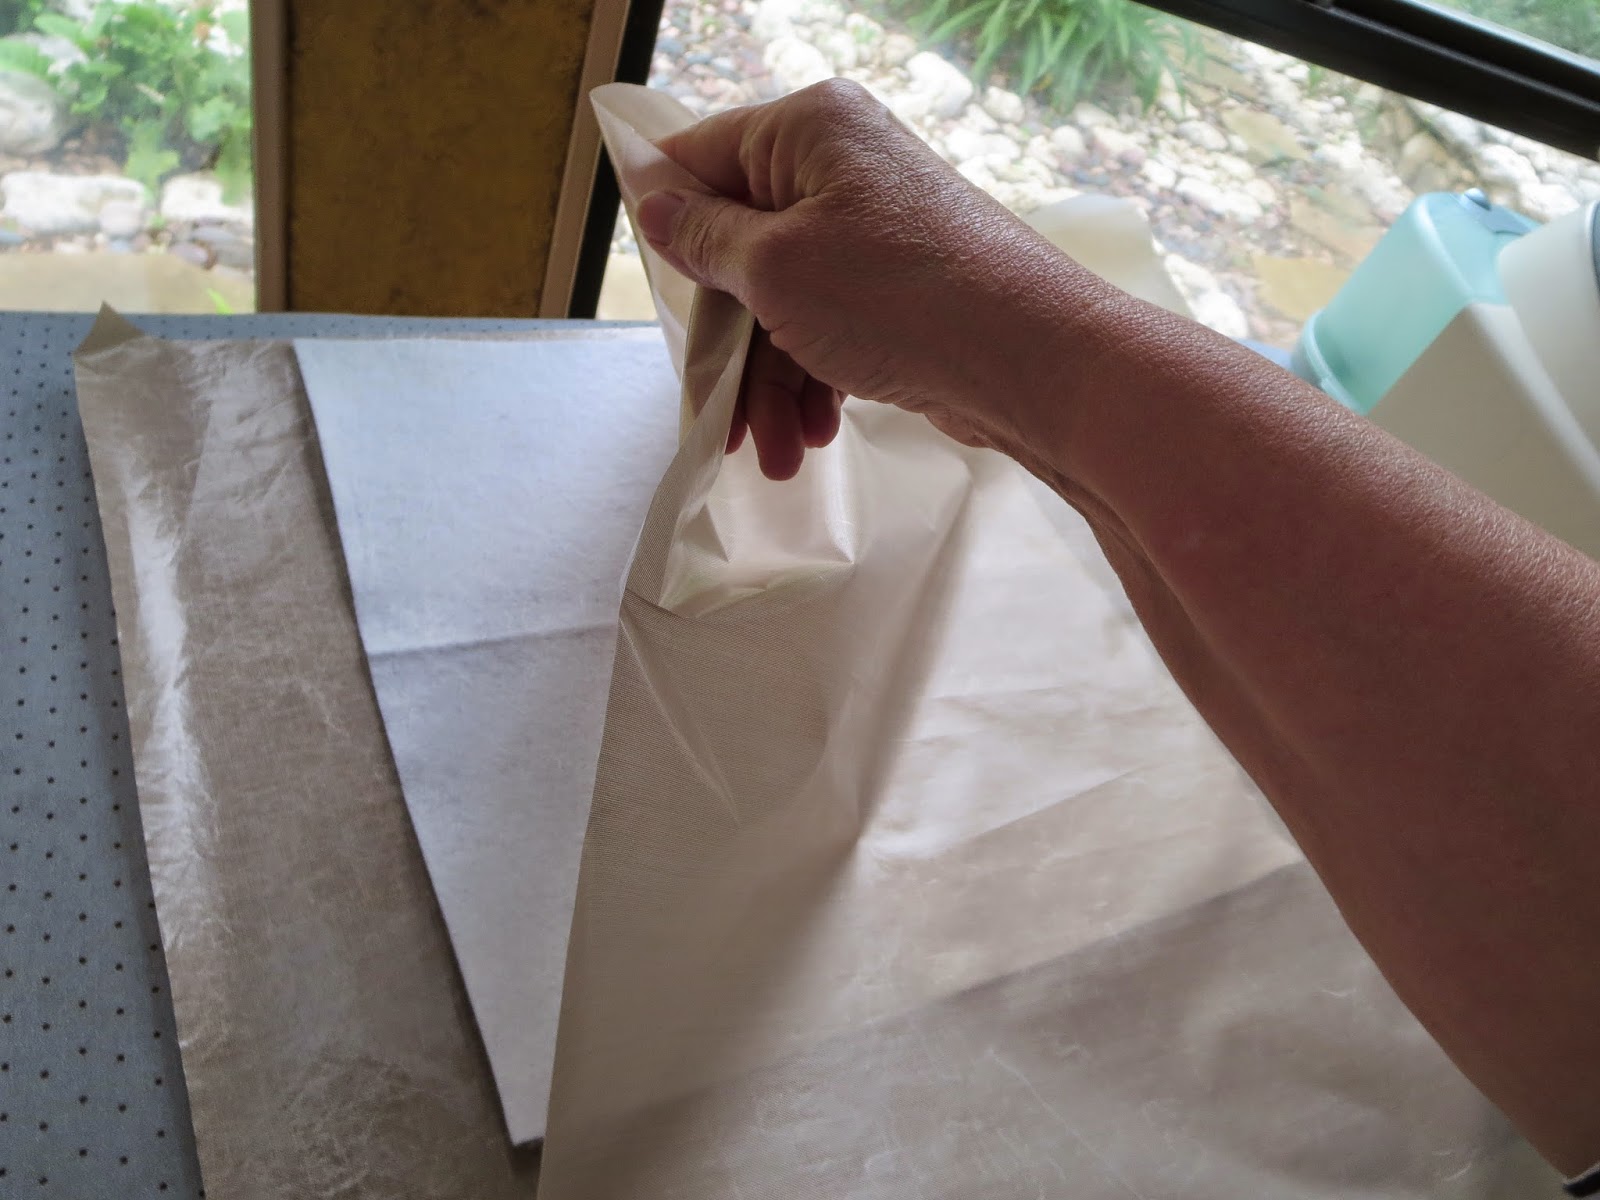


Once the felt piece was cool, I cut a second piece of Mistyfuse and overlaid it on the surface of the felt but did not fuse it. With certain items I have discovered that a second piece fused to the first will often assist in containing things that are errant and loose, such as these wonky clothing labels. The labels do NOT want to play nice, so the second layer of the Mistyfuse makes it mind better!
I took the organza and cut the Ricky Tims shape from my Accuquilt Go! cutter, the layered it onto the remaining uncut piece of organza. This double layer of fused organza was then cut with the dress shape on the Big Shot cutter. Magical!


Note: I prefer laying the organza over the cutter so that the fusible side is facing up but it isn't
necessary. The main thing to remember if you are cutting more than one fused layer is to "stack" your pieces so the fusible sides are always separated. They can get stuck together a bit and it will cause you a bit more work!


This die-cut piece is then overlaid onto the remaining piece of organza and fused.

The double-layered piece is then positioned over the dress die
and run through the Sizzix cutter.

Yay!
I carefully placed the labels in some sort of closely organized mosaic over the surface of the felt (remember I have a loose layer of Mistyfuse there). Once I have it the way I want it I fused it to the surface.


Then I placed the dress in position and fused it. One of the best parts about the organza is the layered transparency. I love being able to see the clothing labels through the dress. So much fun!

The original piece was very closely quilted in rows using my dual-feed on the Bernina 750QE.

The book is available on amazon:
and here's the interweave website link:
Please be sure to stop by all the other blogs on this hop and leave a comment to be eligible for the giveaway!
May 4: Sue Bleiweiss: http://www.suebleiweiss.com/blog/
May 4: Jamie Fingal :http://www.jamiefingaldesigns.com/
May 5: Leslie Tucker Jenison: http://leslietuckerjenison.blogspot.com/
May 6: Terri Stegmiller : http://stegart.blogspot.com/
May 7: Deborah Boschert : http://deborahsjournal.blogspot.com/
May 8: Desiree Habicht : http://myclothesline.blogspot.com/
May 9: Kathy Sperino : http://finishinglinesbyksperino.blogspot.com/
May 10: Barb Forrister : http://www.barbforrister.com/blog/
May 11 Kathy York : http://www.aquamoonartquilts.blogspot.com/
May 12: Lyric Kinard : http://lyrickinard.com/lyric-kinard-blog/
May 5: Leslie Tucker Jenison: http://leslietuckerjenison.blogspot.com/
May 6: Terri Stegmiller : http://stegart.blogspot.com/
May 7: Deborah Boschert : http://deborahsjournal.blogspot.com/
May 8: Desiree Habicht : http://myclothesline.blogspot.com/
May 9: Kathy Sperino : http://finishinglinesbyksperino.blogspot.com/
May 10: Barb Forrister : http://www.barbforrister.com/blog/
May 11 Kathy York : http://www.aquamoonartquilts.blogspot.com/
May 12: Lyric Kinard : http://lyrickinard.com/lyric-kinard-blog/