

Lyric's wonderful dvd...
Below is the intro to her dvd:
Learn how easy it is to create your own screen printed cloth! Thermofax Screen Printing is easy, fun, and well within your reach. Let fun-loving artist, Lyric Kinard, guide you through the basics of what, exactly, a thermofax screen is, and how it’s made. Then she helps you begin your own creative journey as she shows you how to find and design your own imagery and send it off to have a custom screen made for you. Learn all about the basic supplies you will need and then get printing! Lyric will explain the properties of textile paints, how to prepare, care for, and use your screens, and finally how to design and create your own beautiful cloth.
Her workshop is just over an hour and covers the following points, divided into the following chapters:
-Getting Started: what is a thermofax screen
-Finding Images: find and design your own
-How to Print: printing techniques and tools
-Designing: creating cloth with layered imagery
The information is well organized. I like that Lyric takes the time to explain how the thermofax screens are actually made and what images will make the best screens. From experience, I know that the less grayscale the image has, the better. Highly detailed images are possible as long as they are very black and white before the screen is created.
Lyric sent me one of her own screens, an ammonite, and I wanted to create a piece of cloth using her image and my own hand-drawn ammonite, an old favorite image I've been using for years. Let's see how they look together!

First I selected a piece of fabric and pressed it.
This particular piece had been dyed with a shibori resist.

I taped the edges of the thermofax screen Lyric sent.

Here is my old crusty one (I guess you can tell which it is..)
I wonder how these shapes will play together.

Here are the first prints of both screens, Lyric's is on the bottom.

Here is my screen, done with both blue and white paint.

and a combo of both screens and colors.
I think this has some possibilities if I create another screen that has a larger scale of one (or both) of these images. I'll get back to this one at a later time.
Her instruction about using the "scratchy" side of the screen rather than the shiny side, and also the point about how to clean and dry the screens is important to get the most life out of your screens.
One point I would add to the creation of imagery for screens is to keep a file or a notebook of your designs. You may wish to separate them into basic subjects (animal/vegetable/mineral? I don't know...). This will come in handy should you damage a screen, lose one, or if you wish to burn another screen in a different size. I have been very thankful that I have such a file!
Another point worth mentioning is to be very careful when using any product that discharges the dye from fabric: I believe it is extremely important to use gloves, and work in an area that is VERY well ventilated. Consider the idea of setting a box fan in the window to exhaust the area and pull any potential fumes away from your work area. I encourage you to respect any contact with bleach or its fumes. I figure if it is stinky I shouldn't be smelling it so I prefer working with these materials in the open air or a well-ventilated area whenever I can.
Lyric provides such good information about layering of imagery, focal point, & varying the scale but using imagery that is related: such important points! When I began using thermofax screen I was so excited I threw everything but the kitchen sink onto the cloth surface. And it looked pretty wacky but I was having fun. With time and practice I (hopefully) began to work with a subject or idea in mind and let the imagery tell my story. Lyric's points about this are worth listening to several times. Respecting the imagery (subtle and bold alike) as part of the story and making it cohesive takes practice (just like everything else, I guess!). It is so rewarding when you see your vision come to fruition in a piece of cloth.
Here is another set of screens that I combined for a new design. Note that I am working on another section of the same cloth:

First, I used a screen that I purchased some time ago online.
With the last set of prints I found that I prefer the opaque white paint over the blue on this piece of cloth so I worked with it again.

Because I think this print could benefit from varying sizes of this shape
I used a thick sharpie and traced around the perimeter of two things:
an Altoid box and Lyric's dvd box (and then rounded the edges of the larger shape). I cut screen for both shapes, leaving a bit of room around the edges.

Then I ran them through my thermofax machine.

Yay! I am relieved to find that the machine burned the screen.
I just put a new ink cartridge in, replacing one of those refilled ones.
Apparently the old ink did not have any carbon in the toner. I worried that something was wrong with the machine, but it was the toner! Whew.

Once I taped the edges I pulled paint through the first (new) screen.
Note: My friend Jane Dunnewold discovered that strapping tape does not
require time to cure. This is great for those of us who are impatient to use our new screens! Just sayin....
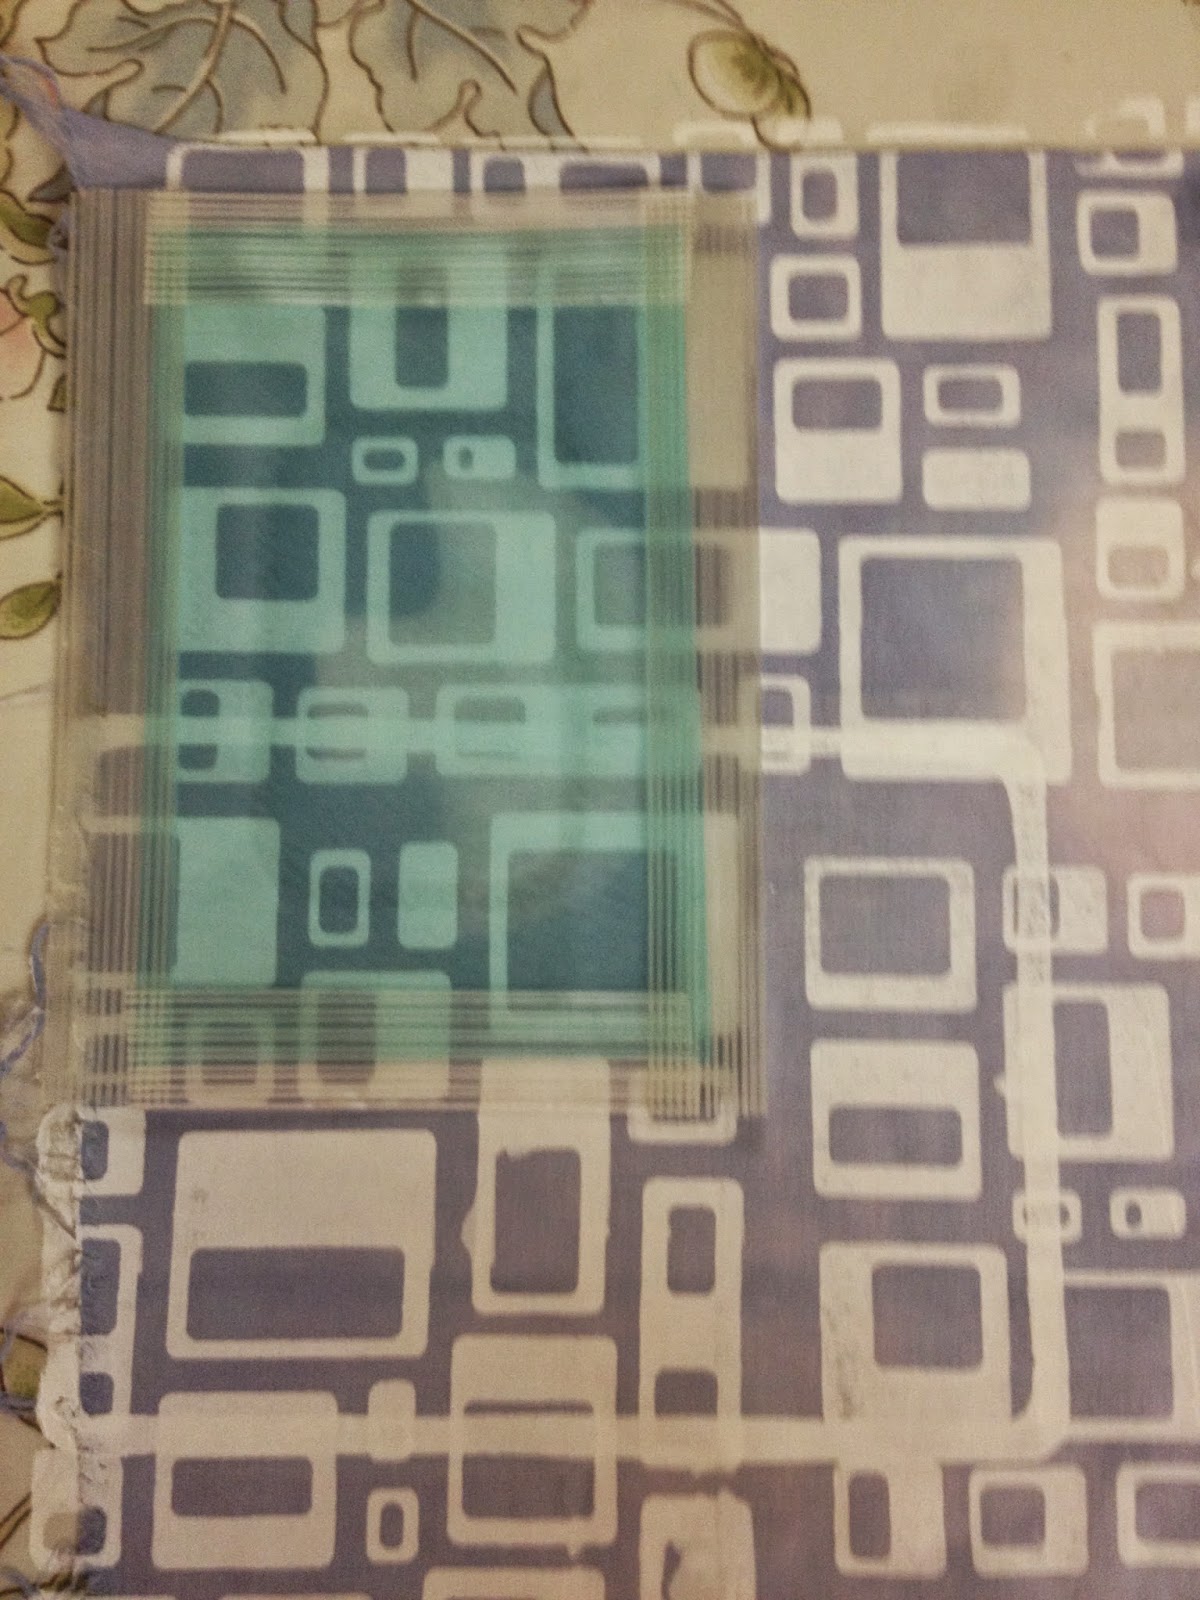
Here is the smaller screen. My intent is to intersect the larger with the smaller shape.


I covered the surface (still a bit tacky) with my drop cloth, which is an old bed sheet, and used a dry iron to heat set the paint.

I wanted to accentuate some of the shapes by drawing in the openings
with my favorite permanent fabric pen, a Pentel Gel Roller Fabric pen.
I love this thing!

See how the fine line of the pen creates more depth?
Love!

I certainly could do all the openings but I think it is more
interesting, visually, to only do a few.

I can't encourage you enough to try this wonderful technique. There is nothing quite a satisfying as taking the journey toward personalized imagery. Think of the possibilities for telling your own story!
Lyric's new dvd is a great refresher for anyone who has done a bit of printing with thermofax, and it is perfect for someone who is interested in trying it.
Thank you so much for stopping by. Please leave a comment to be eligible for a drawing to win a copy of this wonderful dvd. Truly, it is excellent! I'll use my "Randomizer" app to draw a number from the comments after midnight on 5/2/15. Be sure to leave your comment prior to that time to be eligible.
And be sure to stop by the blogs of these contributing artists:
April 24 Cheryl Rezendez http://www.cherylrezendes.com
April 25 Leslie Tucker Jenison http://leslietuckerjenison.blogspot.com
April 28 Sue Bleiweiss http://www.suebleiweiss.com/blog/
April 30 Judy Gula http://www.artisticartifacts.com/blog/
May 1 Susan Price and Elizabeth Gibson http://pgfiber2art.blogspot.com/
May 2 Judy Coates Perez http://www.judycoatesperez.com
May 4 Linda Stokes www.lindastokes-textileartist.com
May 6 Jane Davila http://janedavila.blogspot.com
May 6 Melanie Testa http://melanietesta.com/blog/
May 7 Liz Kettle http://www.textileevolution.com/index.php/our-journey
May 8 Carol Sloan http://carolbsloan.blogspot.com
May 9 Kathy York http://aquamoonartquilts.blogspot.com
May 11 Susan Brubaker Knapp http://wwwbluemoonriver.blogspot.com
May 12 Desiree Habicht http://myclothesline.blogspot.com
May 13 Jamie Fingal http://JamieFingalDesigns.blogspot.com/
May 14 Deborah Boschert http://deborahsjournal.blogspot.com
May 15 Sarah Ann Smith sarahannsmith.com/weblog


