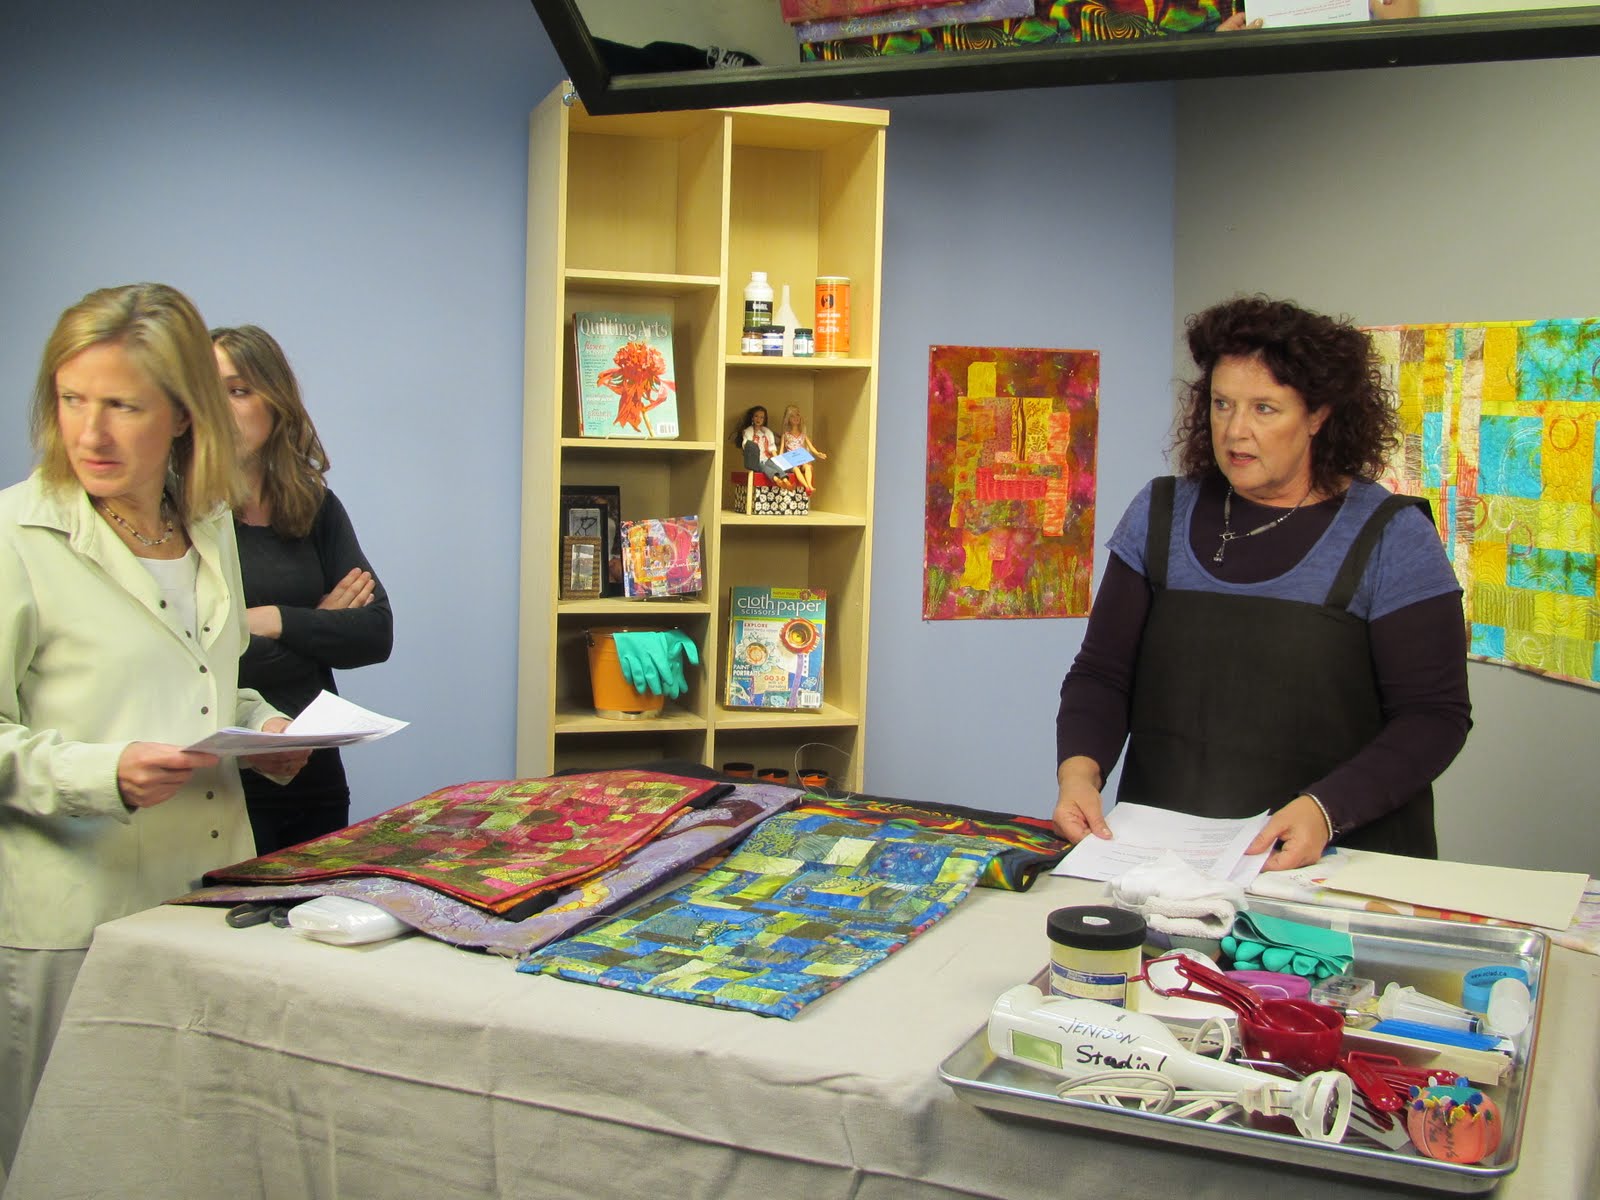
Recently, I had the pleasure of watching Sarah Ann Smith's new workshop dvd by Interweave:

DVD or download available at the Interweave website.
It always interests me to learn a bit about how artists work. I feel that workshop dvds are quite wonderful because, not only do you get to learn about a technique that you might want to explore, you get to see a bit about how the artist thinks. Sarah uses a wide variety of materials and tools to accomplish her transition from a photograph to a textile composition.
The workshop is divided into basically three segments: preparation of materials, creating the composition elements and fusing them together, and using thread to add more dimension with the quilting.
During the preparation portion of the workshop you will be able to see the technique she uses to pre-fuse her fabrics with MistyFuse (my fusible of choice, too!), as well as how she is able to "tack" her various pieces in place until she has finished her composition, at which time she fuses things in place more firmly.
In addition to the choices of fabric for each element in the design she introduces some additional tools: Derwent Inktense pencils, textile paints, and finally, thread during the free-motion quilting portion of the workshop. The Inktense pencils and paint are used to add highlights or shadows to each of the elements, and Sarah does a nice job of explaining how she makes decisions about where these should go. She discusses the need for establishing where the light source is, which dictates how the highlights and shadows should be placed, and she also (and as a painter I think this often gets missed) talks about the reflection of light from below a spherical object that "bounces up" to create a lighter area on the lower portion of the object. We don't always think of it, but when it is overlooked (on any piece of art) it lessens the dimension of the object.
One place where I differ slightly with Sarah is the use of water-alone with Derwent Inktense pencils. This is fine when working on paper, and probably acceptable on cloth, but it IS a fugitive media, meaning it can "run" or migrate when exposed to moisture. I guess I'm paranoid and thinking of accidental exposure to water: yikes! I tend to prefer using Inktense pencils with textile medium. One still gets the watercolor effect but, when dry, the media is permanent on the fabric.
During the "composition" portion, she carefully explains how she finds and traces the various color values of each object as well as how to enlarge the photo composition. She explains her method of layering the various cut pieces to create a nice overlap. I enjoyed all the little "tidbits" about her titanium iron, how to deal with removing fusible on the iron plate, and also what she does to keep her teflon pressing sheet clean (I use the same process). I cite that as an example because those are the small details that are often known to artists but difficult to say out loud because they are such a part of our method we take them for granted. It is so helpful to know these things because they make working with fusible so much easier!
When Sarah moves to the sewing machine and the viewer begins to see how much impact the thread color choices have on the dimension of the objects it is truly inspiring. Having a nice palette of threads is essential when adding depth and dimension to textiles. To me, it is our most essential type of "paint" and what really defines us as what I refer to as being a 2.5 D artist. Quilted work is not flat, not fully
3D, but somewhere in between.
Lastly, I was touched to listen to music performed by Sarah's son, Joshua, at the end of the dvd. I haven't met Joshua personally, but I have known about his music through his mother. I think you will enjoy it, too.
I believe that this workshop is valuable to just about anyone who is looking to work from photos to create quilts. Frankly, there is great info here, even if translating a photo into a quilt isn't your objective. It is worth a watch, and I encourage you to add it to your library.
One way you may be able to do that is to leave a comment here. I will use my iPhone "randomizer" to draw a name from anyone who comments. Cutoff for the drawing is midnight, September 28th. I will contact the winner to let you know. If you are within the US you will be given a DVD, and if you are international you will be given instructions for downloading your copy from the Interweave website.
Thanks for stopping by! Please take another minute to stop by Sarah's website: she has a lot of great resources and you can look at all her lovely work!
Other stops on the blog hop route:
Sept 26 - Leslie Jenison http://leslietuckerjenison.
Sept 28 - Terry Grant http://andsewitgoes.blogspot.
Oct 1 - Gloria Hansen http://www.gloriahansen.com/
Oct 3 - Diane Perin Hock http://goingtopieces.blogspot.
Oct 5 - Sarah Ann Smith http://www.sarahannsmith.com/weblog/
Other stops on the blog hop route:
Sept 20 - Jamie Fingal http://jamiefingaldesigns.blogspot.com
Sept 21 - Deborah Boschert http://deborahsjournal.
Sept 24 - Vicki Welsh http://vickiwelsh.typepad.com/Sept 26 - Leslie Jenison http://leslietuckerjenison.
Sept 28 - Terry Grant http://andsewitgoes.blogspot.
Oct 1 - Gloria Hansen http://www.gloriahansen.com/
Oct 3 - Diane Perin Hock http://goingtopieces.blogspot.
Oct 5 - Sarah Ann Smith http://www.sarahannsmith.com/weblog/