
The SDA conference is many things, and one thing is the silent auction of (hopefully) the many pincushions people will donate: everything from vintage to hand-made. That is the reason for the following experiment.
I'm not great at following directions (some of you will not be very surprised when reading this..) so I decided to make something up. Did I prepare in advance by researching what to stuff the pincushion with? Of course not.
Since I had just received some gorgeous linen prints from Anna Maria Horner's new collection I thought they would be perfect for this. I fused a lightweight interfacing to the linen, as well as a piece of solid Kona cotton.
Since the print had a beautiful floral motif it followed that the cushion should be round, right?!
First, I cut two pieces of the linen using the floral motif as my guideline (approximately 5 inches diameter). Then, I cut 1 strip of solid fabric, 2.25 inches wide and long enough to stitch to the circumference of the linen circles.

Right sides together, I folded the leading edge of the solid back on itself about 1/2 inch.

I repeated with the second circle, attaching it to the opposite edge of the solid.
I ended up with a little "box". I notched around the seam allowance about every 1.5 inches
so that it would reverse nicely at the seam lines.

You can see that I left a bit of an opening along one seam because I wasn't sure when to stitch my buttons (read: I haven't done this before..). After turning the cushion inside out I attached my two buttons at this point, using bookbinding waxed linen (read above). I deliberately made my interval between the buttons a bit narrower than the width of the side piece.

Using a recent piece of lovely mail from a friend (hi Sue: it was close to my work table!)
I created a funnel for the sand. Yes, sand. I poured it through my opening.
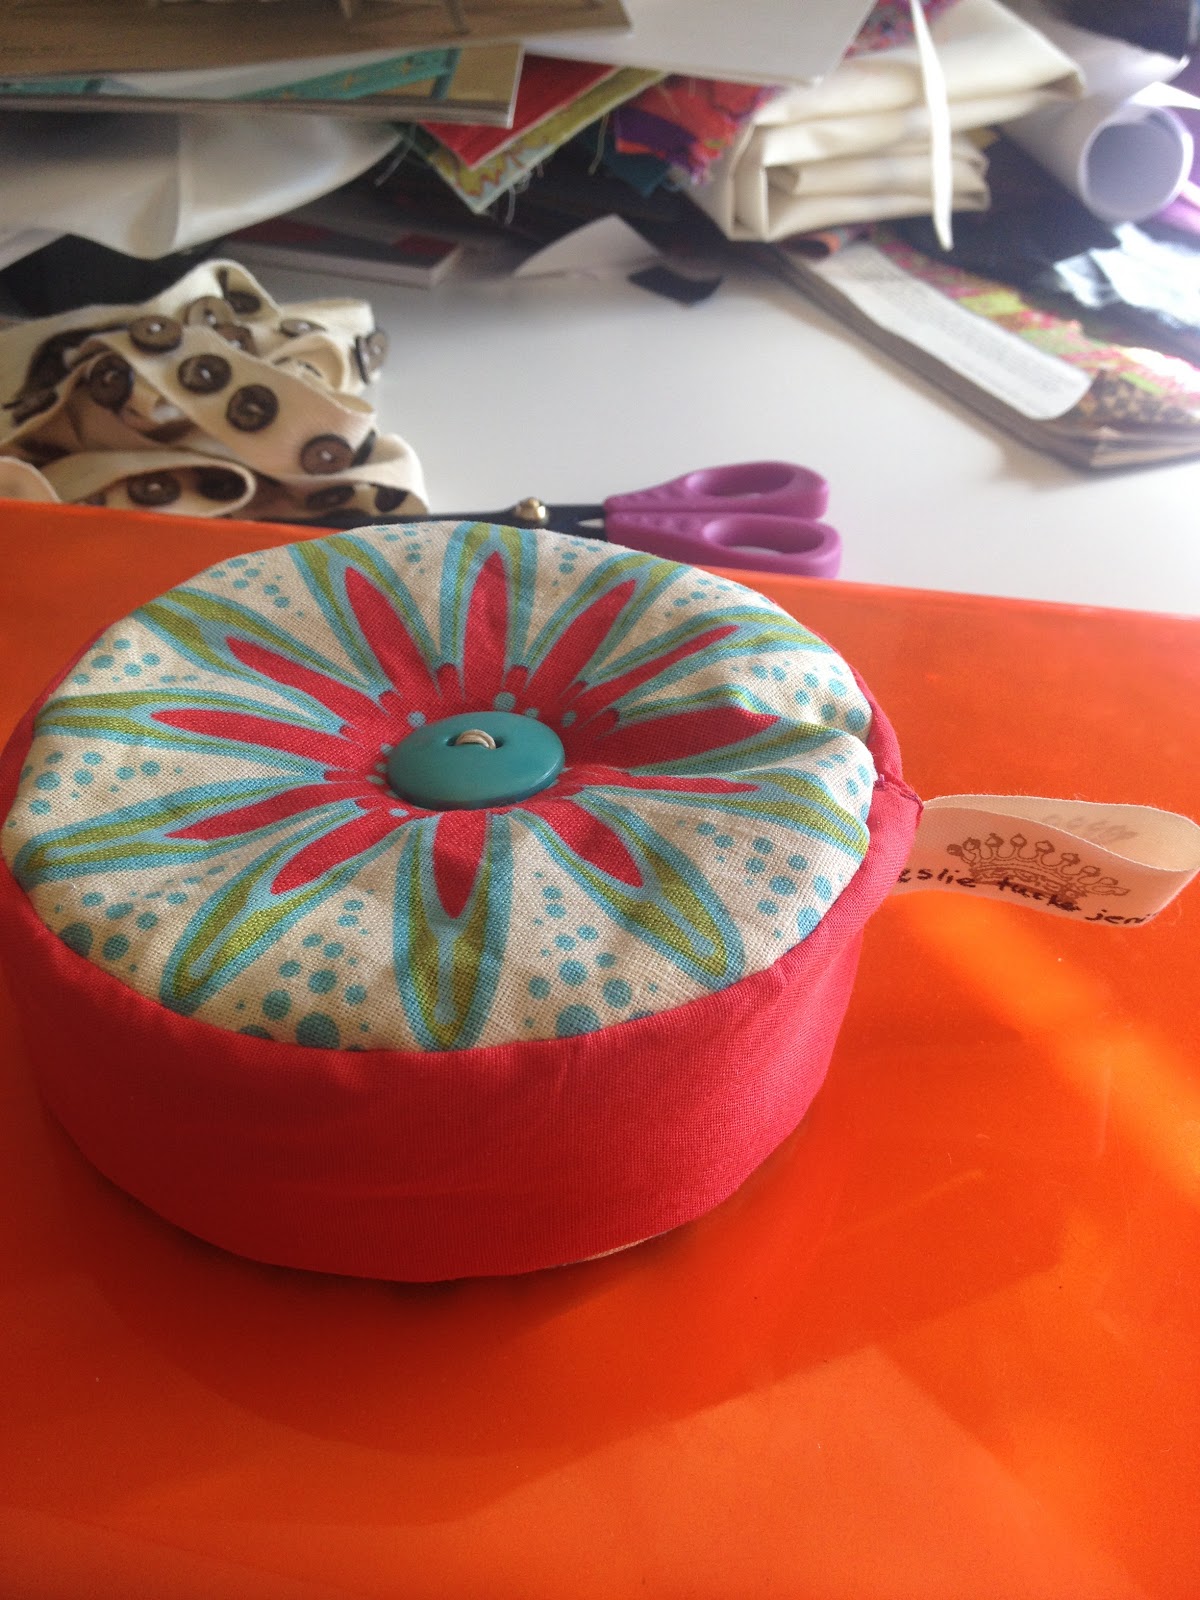
I ran out of sand before it was really stuffed full, but I think it looks pretty good!
I made a little tag and stitched it in place when I hand-stitched the closure.
Side-effect: Now I want to make more. I like the "heft" of the sand as the filler. My late friend, Laura Pitts, who made the most beautiful pincushions I've ever seen anywhere, filled them with sand.
Next up: a square pincushion. But I cant show it to you yet because I need to go to Home Depot and get more sand.
This comment has been removed by the author.
ReplyDeleteBeautiful pincushion! I've never used sand to fill a pincushion before. I imagine the weight would be very nice and the sand is probably great for your pins too. I'll have to try that next time I make a pincushion. Have fun!
ReplyDeleteIt really has a nice "heft" to it! My old tomato one always tips over. Is that weird?
DeleteVery nice! I love the flower and button. You might consider crushed walnut shell. It an be purchased at the feed store or pet store. Glad to see you are enjoying the conference. You were missed tonight!
ReplyDeleteLove the fabric. It was just perfect for this sweet pincusion. Thanks for the tut. I've never made one before but you make it look do-able.
ReplyDeleteBeautiful! We made pincushions recently in our quilting guild and filled them with rice. Is there an advantage with sand?
ReplyDeleteI have never made a pin cushion either but now you've got me wanting to make one too!
ReplyDeleteI thought you are SUPPOSED to use sand, It sharpens the needles and pins. Is that true? lol ;)
ReplyDeleteThanks for all your comments. I have no idea if you are supposed to, but it seems like a great idea. I know of at least one other person who uses sand and that is good enough for me!
ReplyDelete