Showing posts with label handmade. Show all posts

Wednesday, July 10, 2019

Craft Napa 2019: Another Wonderful Event

It is possible I am the luckiest teacher in the world.  I always seem to have the most amazing people in my workshops!  I can't tell you how much I enjoy working with students.

Craft Napa has evolved to have a really wonderful culture.  Some people have come every year and new people come each year.  Friendships have developed and people are keeping in touch as a result of this event.  What could be better?  I love teaching at Craft Napa.

This year was no exception!

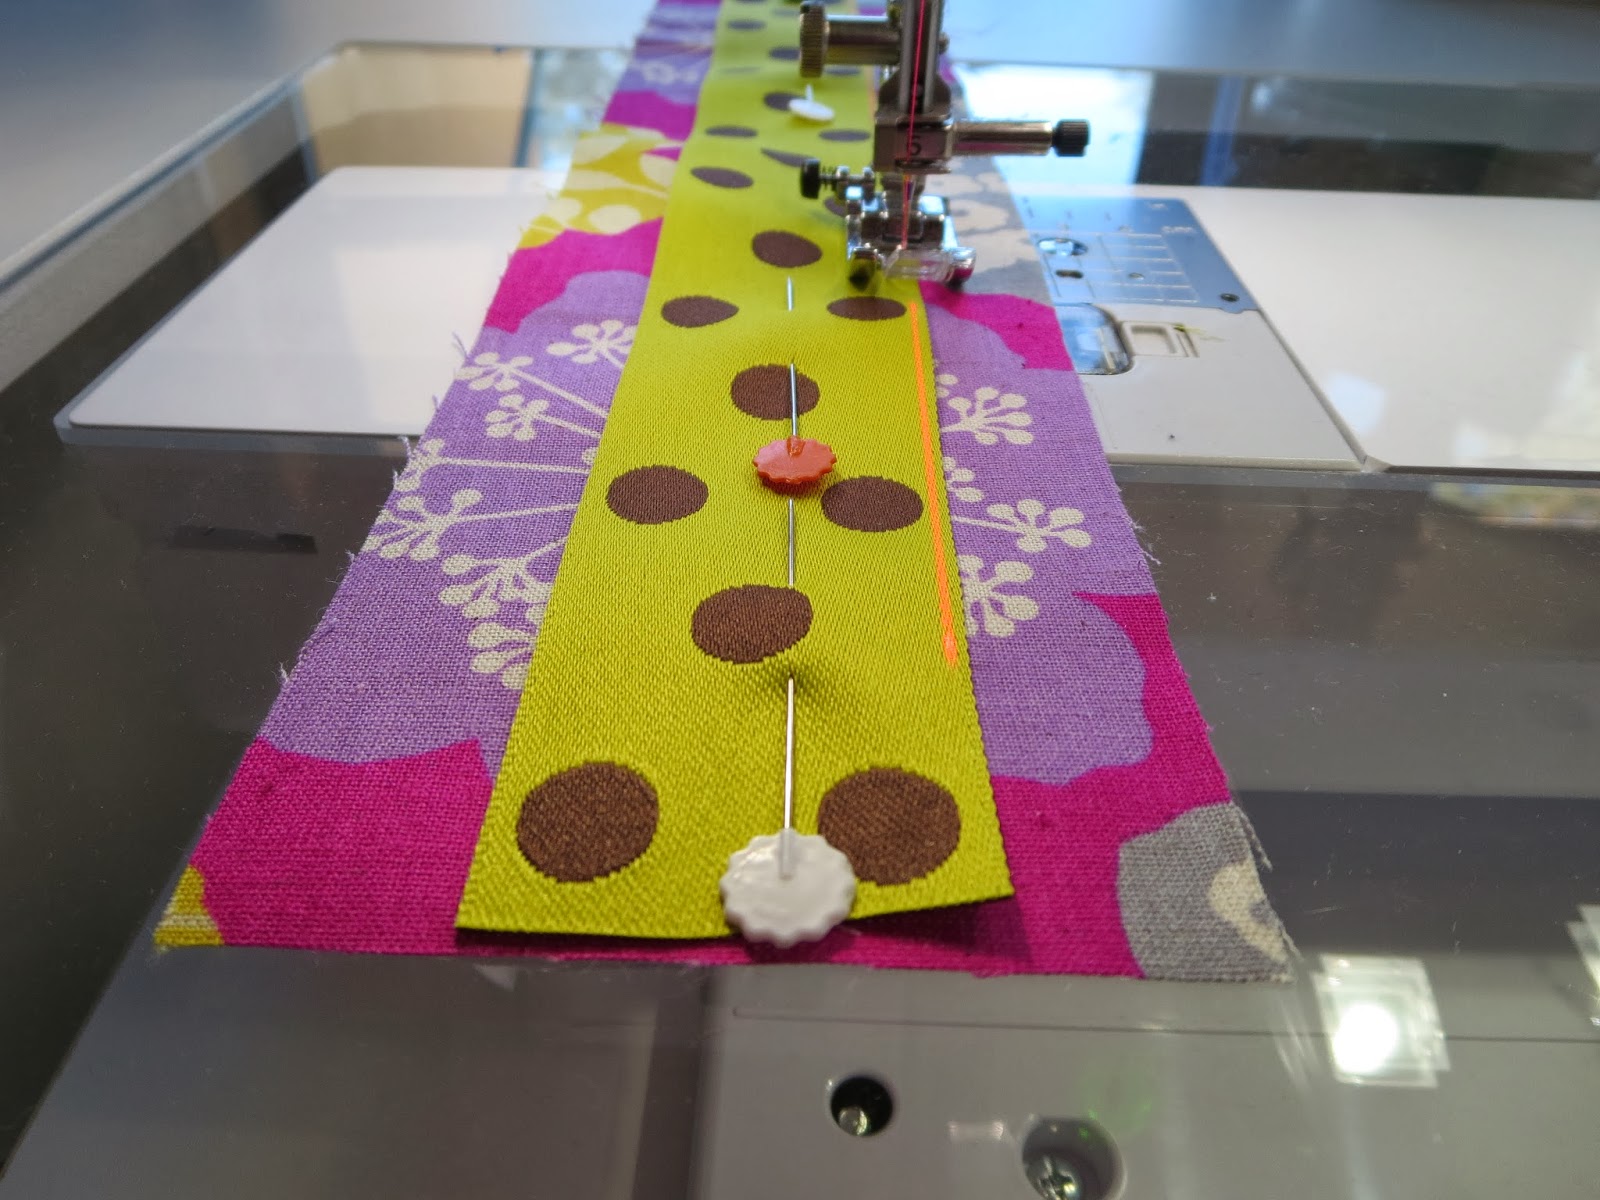
In my two-day surface design workshop a wonderful group of artists joined me at Pokey's art barn.
We delved into all types of work using a variety of tools to make marks on cloth and fabric.


We really enjoyed our morning meeting and lunch discussions.
How could it have been better?! 

The evening between my two-day workshop I taught a hand-stitching workshop which was equally enjoyable.  I instructed people that it was casual, so much so that they were welcome to come in their jammies.  And.....one person took me up on it!

Frances Holliday Alford, always up for a good time!

Students worked with sheers to create a lovely abstract composition and 
stitched it with embroidery thread.  

This was such a fun evening!

The next day my husband arrived in Napa to do a screening of his film, "Tim's Vermeer", for the retreat attendees.  It was so much fun to have him visit!
He had fun talking to Earomicha.

We had Ritual coffee at the Oxbow Market the afternoon before the screening.

Students enjoyed asking him questions post-screening...

While some of the teachers posed on the floor:
Jamie Fingal, Lyric Kinard, Judy  Coates-Perez, Victoria Findlay-Wolfe, and myself
(counter-clockwise from top left)

 Finally, I taught a ruler-free improv class with the theme of "Housetops and Variations".
Students creatively made compositions with this theme in a variety  of colors and prints.


I certainly hope my students had as much fun as I did.  Truly, being able to interact with all these
wonderful artists is a privilege and I enjoy every moment of it.  


Wednesday, April 8, 2015

Spring Fling with Sizzix

Welcome to the Sizzix Spring Fling blog hop!  I love my Sizzix die cutters:  I own the Big Shot Pro and the Fabi.  The Big Shot allows me to use the really BIG dies and, while it works for all the dies, the Fabi is more portable and I use it when I travel to teach.  "Mr. Big", as I call mine, stays home for those trips!
For this project I used quite a few different dies.  You don't really need to do that, but I guess I used dies like I cook:  if I have it, I might as well add some.
The main dies used are these:
and these:  (L) Flowers and Leaves Die #658480, and (R) 3D Wrapped Flowers #657116.
I also used these:
Big Shot Pro Circle and the "D" piece from the Double Wedding Ring die!

I was interested in creating appliqué pieces from felt that would subsequently be used to adorn a throw pillow.
Here are a few wool blend sheet of felt I am considering...

as well as this crazy piece of woven end-pieces off a loom that I previously dry-felted.
They are all going to make a trip through the Sizzix machines!

First, using the large flower die, I cut the woven piece.

I love it!

Then I cut small sections of the wool felt to go through the other machine.

Here are a few of the results!  They are so gorgeous!

I wanted a larger leaf shape so I opted for this portion of the Double Wedding Ring die.  It works!

I love the blanket stitch (mirror image reversed) by my Bernina 750 QE.

I overlaid the die-cut weaving on the gray felt.

I love the way these beautiful die-cut leaves look over the weaving.


To create a dimensional look I stitched the edges slightly raised from the surface.

The combination of the 3-D flower and these open-cuts:  awesome!
So much yumminess.


I "modified" the base of my too-long zipper by cutting it, then applying some embroidery thread on the base.

Love the way my Bernina handles the uneven levels of the zipper to pillow.

Hand embroidery on the edges makes this even more special.

For the pillow background I selected these pieces.  Note that the open flower shape
on the left is actually cut from the leftover gray of the flower base.
Note my green "leaf petal" that is folded with the black leaves on top?  
There are many uses for each shape in a Sizzix die.  Think outside the box!

Pinned, then straight-stitched to the surface of a piece of yarn-dyed Kaufman Essex.

Then the main appliqué is stitched onto the surface.

The zipper installed....

And the finished pillow!  
I really love these spectacular Sizzix dies.  
They are just so darn much fun to play with.  I hope you try them!


Thanks so much for stopping by.


Be sure to visit all the artists participating in this hop:
Mon, April 6 - Jamie Fingal
Wed, April 8 -YOU ARE HERE!
Thurs, April 9 - Cindy Cooksey
Fri, April 10 - Victoria Findlay Wolfe
Sat, April 11 - Sue Bleiweiss
Sun, April 12 - Jessee Maloney
Mon, April 13 -Karin Jordan

Sunday, December 22, 2013

Small Sewn Gifts Sew-Along: Eleventh Hour Wonky Pincushion/Mobile Phone Nest

Come Sew-Along!


As part of the Small Sewn Gifts Sew-Along sponsored by Reanna Lily Designs I decided to make another of my Wonky Pincushions.  This one is square-ish.
First, I cut 2 4-inch square pieces for the top and bottom of the cushion.  I decided to make this one thicker so I cut an 18 inch length of the same fabric 3-inches wide.  I also cut a 18-inch length of trim to
be used around the perimeter.

Using a bright pink thread I stitched the trim in place.

I turned the leading edge of the trim to create a finished "opening".

Placing one of the 4-inch squares, right sides together, on the side section I stitched them together,
stopping 1/4 inch from the edge and turning.


After stitching around the square I folded back the end, overlapping it with the other end, and stitched in place.

I repeated with the other square.  You end up with an "inside-out" box.

Trim the corners for easier turnout.
Turn the pincushion right side out through the opening.

I wanted to stack a couple of buttons on the center of both sides.  
I used beading thread as it is a bit stronger.
Again, you are working through the opening so you have to be careful not to stitch something you didn't intend to!

Once I had the buttons attached to the first side, I secured the buttons on the second side and
then stitched between the two sets.  The idea is to have the center of the pincushion pulled inward,
so the thread is shorter than the depth of the cushion.

I rolled a piece of paper into a cone and began spooning sand into the opening.
Why sand?  Well, I like a pincushion that can defend itself.  I want it to stay put.
So, a little "heft" is what I am looking for, and it is good for the pins, while we are at it.  
You may choose something else if sand isn't your thing.

I filled it as much as I could.

I chose a thread color as close to the tone of the trim as possible.
It isn't perfect (whatever that means) but it is close enough!

I like that the sides "bulge" a bit, which makes the seam around the top pull inward.

If you are needing a gift for a non-sewist, this could be a little mobile phone "rest"!
I think I would not fill it quite as much if I intended this as an official phone perch.

Once the pieces are cut the assembly is very quick.  The dimensions could easily vary from the ones I used.  Just be sure you have a bit of extra length on the side piece.  Any excess can be trimmed before you fold the final piece over.  Have fun!