Sunday, December 22, 2013

Small Sewn Gifts Sew-Along: Eleventh Hour Wonky Pincushion/Mobile Phone Nest

Come Sew-Along!


As part of the Small Sewn Gifts Sew-Along sponsored by Reanna Lily Designs I decided to make another of my Wonky Pincushions.  This one is square-ish.
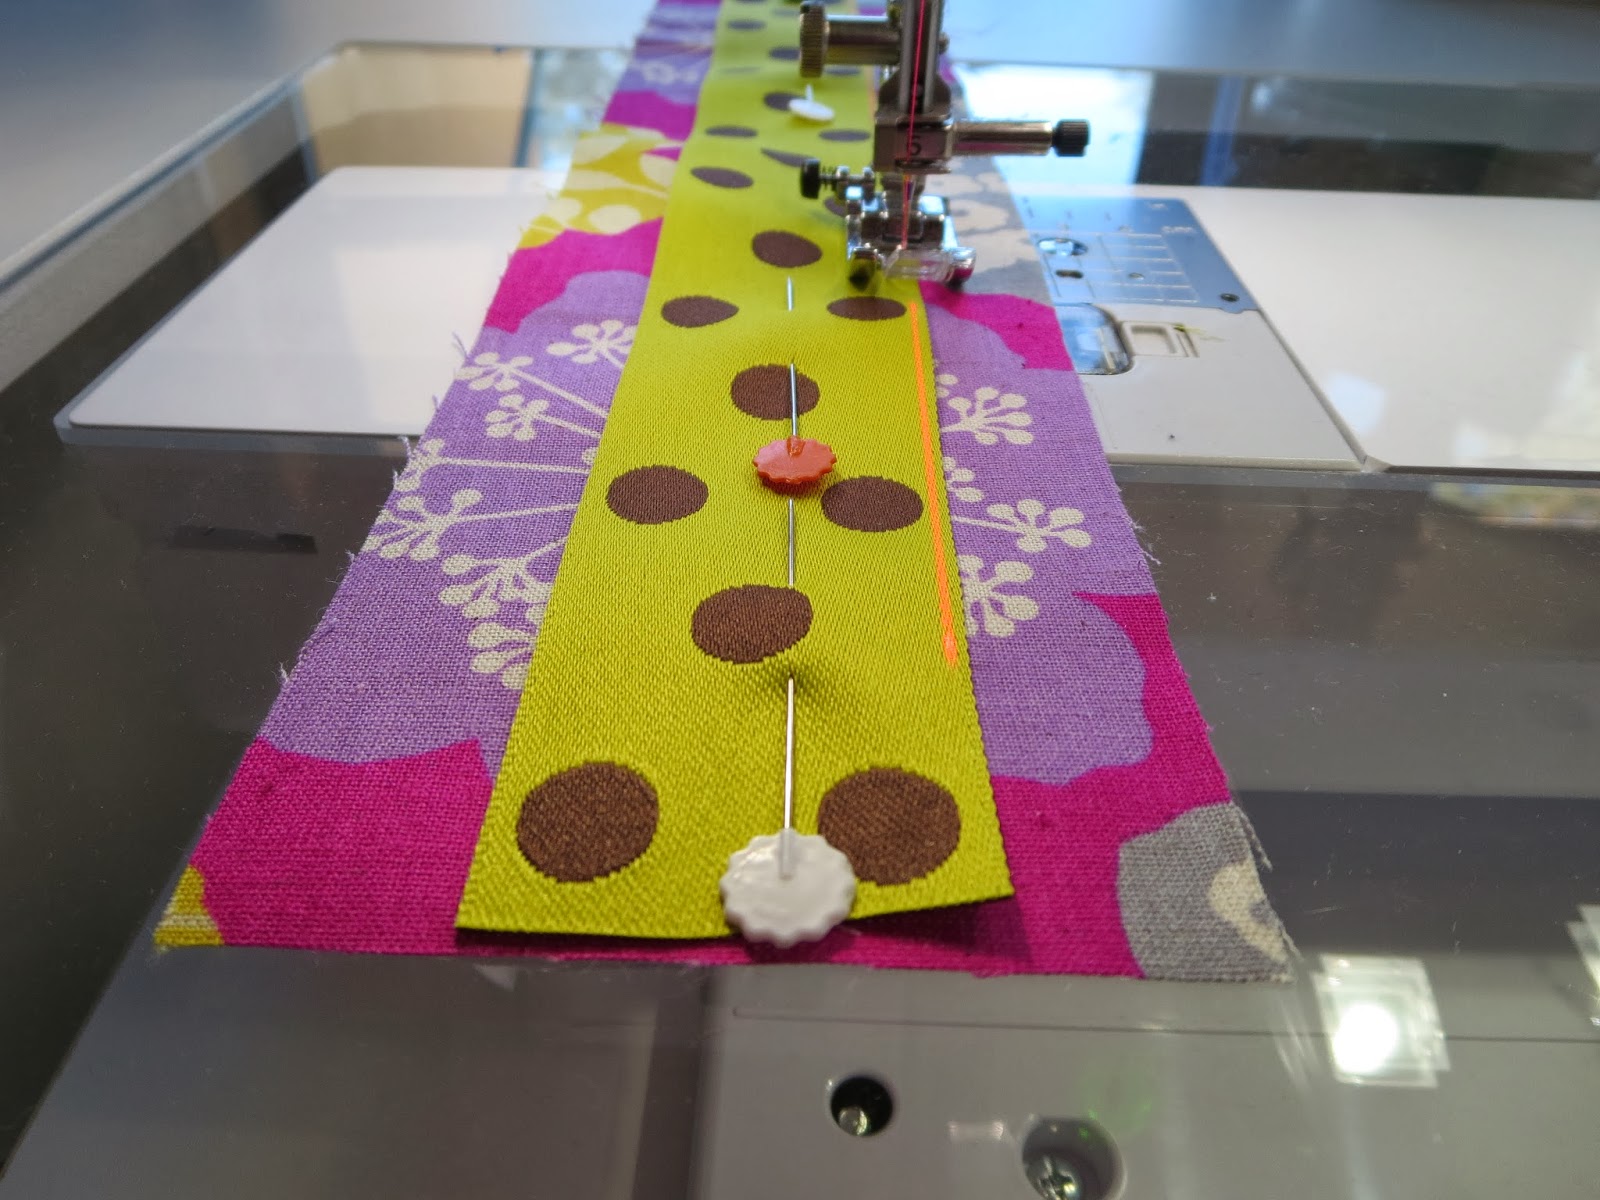
First, I cut 2 4-inch square pieces for the top and bottom of the cushion.  I decided to make this one thicker so I cut an 18 inch length of the same fabric 3-inches wide.  I also cut a 18-inch length of trim to
be used around the perimeter.

Using a bright pink thread I stitched the trim in place.

I turned the leading edge of the trim to create a finished "opening".

Placing one of the 4-inch squares, right sides together, on the side section I stitched them together,
stopping 1/4 inch from the edge and turning.


After stitching around the square I folded back the end, overlapping it with the other end, and stitched in place.

I repeated with the other square.  You end up with an "inside-out" box.

Trim the corners for easier turnout.
Turn the pincushion right side out through the opening.

I wanted to stack a couple of buttons on the center of both sides.  
I used beading thread as it is a bit stronger.
Again, you are working through the opening so you have to be careful not to stitch something you didn't intend to!

Once I had the buttons attached to the first side, I secured the buttons on the second side and
then stitched between the two sets.  The idea is to have the center of the pincushion pulled inward,
so the thread is shorter than the depth of the cushion.

I rolled a piece of paper into a cone and began spooning sand into the opening.
Why sand?  Well, I like a pincushion that can defend itself.  I want it to stay put.
So, a little "heft" is what I am looking for, and it is good for the pins, while we are at it.  
You may choose something else if sand isn't your thing.

I filled it as much as I could.

I chose a thread color as close to the tone of the trim as possible.
It isn't perfect (whatever that means) but it is close enough!

I like that the sides "bulge" a bit, which makes the seam around the top pull inward.

If you are needing a gift for a non-sewist, this could be a little mobile phone "rest"!
I think I would not fill it quite as much if I intended this as an official phone perch.

Once the pieces are cut the assembly is very quick.  The dimensions could easily vary from the ones I used.  Just be sure you have a bit of extra length on the side piece.  Any excess can be trimmed before you fold the final piece over.  Have fun!


Wednesday, December 11, 2013

Fun With Sizzix "Artist Trading Blocks" and StencilGirl Stencils...

Greetings! Thanks for hopping by for the cool Sizzix Art Box blog hop using Eileen Hull's soon-to-be released Scoreboards block die.  I got pretty jazzed about these blocks when I started playing with them and I have a feeling you will like them, too.  My mind was spinning as I was working on the surfaces of my sample boxes.  I was thinking about all the things they could be used for!  If you stop by their cool Facebook page you will be able to see even more ideas.
Since I'm still crushing on Ferro Special Effects Paste because it  produces a dimensional surface I wanted to figure out a way to create layered marks underneath it.  To accomplish the base layer I pulled out my 8x10 Gelli Arts gel plate, which worked perfectly to cover the entire length of the box "strip".

First, I spread a very thin layer of paint over the surface of the Gelli plate with a brayer.


I like to mix a couple of analogous colors...


Using this "fancy" old antacid packet, I displace the paint in the gelli plate.


I love the irregular shapes that emerge.

I placed one portion of the Artist Trading Box onto the plate to pick up the texture.


I want to create a mottled effect for the die-cut letters so I used bubble wrap
as well as the River Rocks stencil.


After picking up some of the paint on a separate piece of paper I get this with a piece of watercolor paper from gelli plate surface when I lift the stencil.

I use this same texture to mono print the die-cut letters

Using the River Rocks stencil again, I spread Ferro Special Effects Paste through the stencil.


Working on the inside of the box sections I stencil over the mono printed area with the

I decided to switch to the Fade Horizontal stencil and scatter the distribution of marks


First, I used a transparent green which didn't show up very well, so I moved to an 
opaque blue, stenciling just a portion of the surface.


I used the same stencil over the darker exterior of this section.

Once the Ferro paste dried I used a black marker to add a bit of shadow-dimension to the texture.

I chose two of my business cards to add some imagery to my piece.
I used my paper-cutter to cut the card into an exact square, selecting the 
area of the card I wanted to retain.

Using Yes! glue paste, I glued portions of my card into the interior of the box.

This card is glued to the exterior of the box.   This image is of a quilt I 
created for the Quilt Alliance annual auction.  It is called
"Our Roots Run Deep".

I'm calling this piece "Sanctuary", because it is my word that describes how I think of my home.

Here is the inside of one of my box sections...

And here is the other:  I glued the letters to the inside of the second box section.
A=family, B=love, C=safety


Exterior of panels

Interior of the panels

I have always loved little boxes that contain "secrets".


Thanks for stopping by and remember to leave a comment to be eligible for the prize.  I hope you will be inspired to create your own amazing Artist Trading Box!  Stop by often:  you never know what might be going on around here!

Here are the other hoppers:

Blog Hop Order: