Showing posts with label Procion MX dye. Show all posts

Wednesday, February 15, 2017

Settling Into my New Wet Studio

Greetings!
It may seem odd that I have been in my newly-renovated space for close to a year and I am just now feeling like I have my work rhythm again.  I guess the past year was pretty crazy and I'll "blame" the slowness on all the travel and activities related to bringing my first line of fabrics to market.

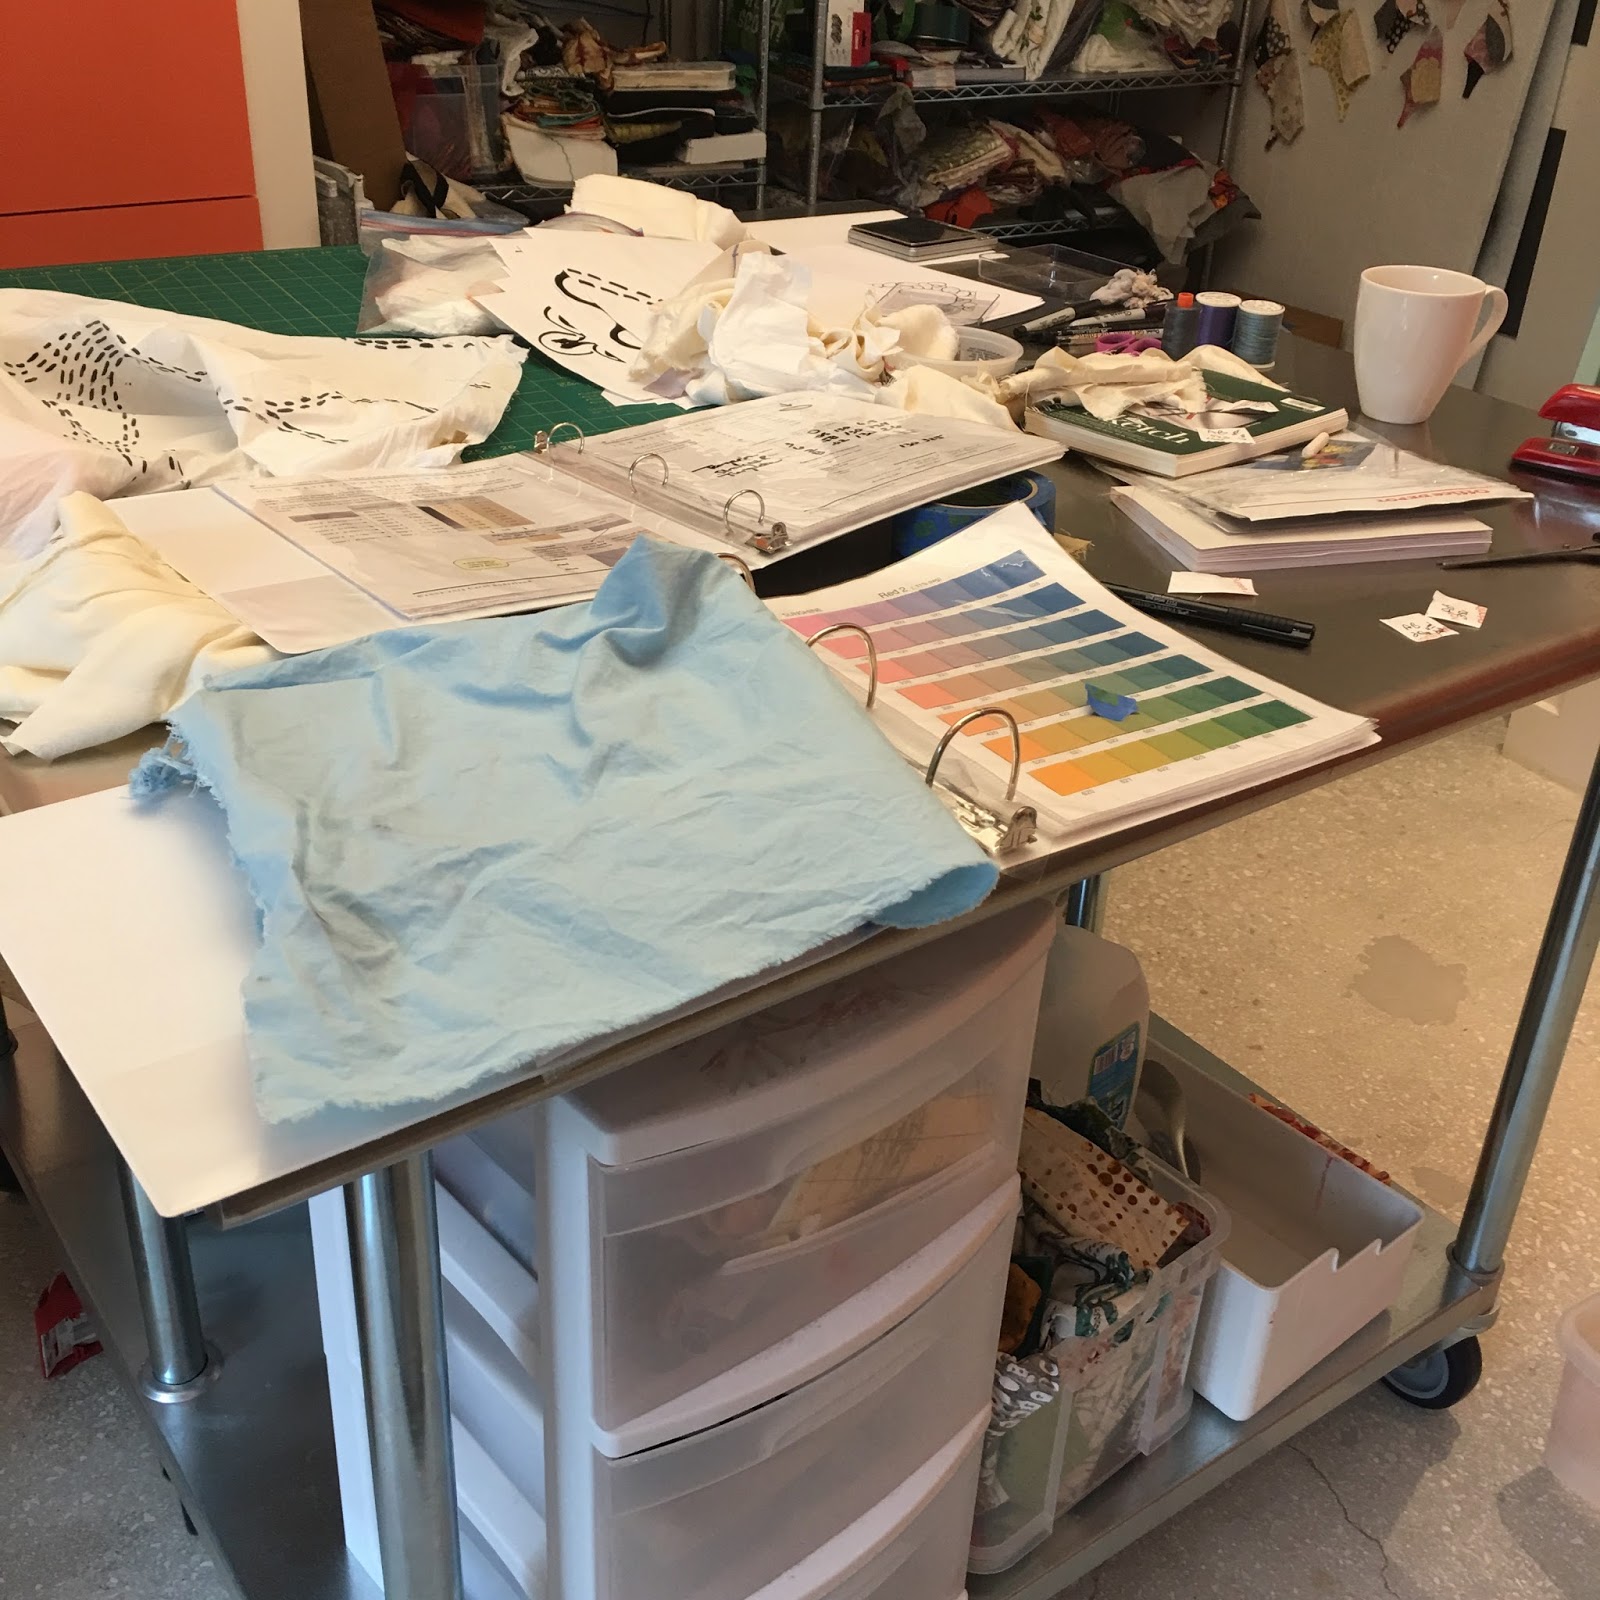
Since the first of the year I have been intensely focusing on surface design work and finding my stride in the new wet studio space.  I admit that I still have a few things to work out!  For one, my storage is still not quite where it needs to be.  I have space under my stainless steel work table that can be optimized for storage of tools and auxiliary supplies.  Second, I have a closet that remains largely unused.  I need to configure some static shelving which will free up counter space.


I know I can make better use of the space under my table!
You can see I didn't do anything to stylize this image!  
I am in the midst of a bunch of dye mixing and it shows.

Here you see some dye concentrates languishing in front of three screens that have various
degrees of deconstructed marks on them.  I had them outside to dry enough that they won't drip
and now they are finishing the drying.  Soon, I'll pull wet media through them to get some 
interesting and unplanned marks onto cloth.

I have found the new patio I added to the side of my studio to be a valuable space.
I have my weird, "Clampett-style" steamer set up out here along with two adjustable height 
work tables.  Since I have a door leading from me wet studio to this spot it is a very convenient place to do messy work.

Inside, I am doing a bit of clamped shibori dyeing.  

I've been in the process of working on my second fabric line with RJR.  It has been extremely fun to get focused on this project and make some decisions about what will be brought forward from my work to create this line.  Stay tuned!


Monday, January 30, 2017

Blog Hop To Welcome A New Book: "Playful Fabric Printing"


I've been waiting (WAITING!!) for this book for such a long time!  And, finally, it is HERE!
First, a bit of background:  I love both of these authors.  I am friends with each and admire their work individually.
When I caught wind of the fact that the two of them were working on a book about their fabric dyeing and printing strategy I was really enthused.  Playful Fabric Printing was underway!  This year, at the 2nd annual Craft Napa, the book was finally placed in my hands.


Playful Fabric Printing is one gorgeous book!

Take a look at all the information contained in it....


Carol is a master at teaching people how to dye fabric for specific colors.  
Here she is showing her 3-dimensional color cube in her workshop called "color mixing for dyers". 
I took this photo during Carol's workshop about 2 and a half years ago.  Below is a page in their new book showing 
all the color "value bands" and how to achieve them.


Melly has a degree in textile design from the Fashion Institute of Technology.

Can you see where I'm going with this?  These two dynamos just co-wrote a fabulous book!  The book was made even more fabulous because Pokey Bolton, founder of Quilting Arts & Cloth, Paper, Scissors magazine, published their book under her new brand, "Crafting A life".   The book is yummy in every way:  chock-full of easy-to-understand information that is beautifully photographed.

Carol and Melly are keen for people to learn how to use thickened dyes to create their own personal imagery on cloth.  They have developed a system that is simple yet elegant.

Several surface design artists stayed after the second annual Craft Napa for a dye "play day" to become acquainted with Carol & Melly's system of using dye and stamps to develop prints.  Here are a few images from that day...

Carol shows us how to mix the dye into print paste.

Carol and Melly talk about the book and how to cut stamps using their technique.

Melly demonstrates how to apply the thickened dye to the stamp surface for printing with multiple layers to create an image.

You know, these two really love color!

Here is a quilt Melly created using her hand-printed fabrics along with my new line of fabrics from RJR called 
Urban Artifacts.  See how great they look together?  I think this is important because the book will show you how to create
unique prints that work well in combination with other prints or on their own!

After showing our small group how to use simple and easy-to-obtain supplies to create our stamps we all made our own.  The idea was to design stamps that referenced the theme of "x's and o's" in some way.

Using a piece of clear plastic and fun foam I cut and adhered my foam stamp pieces onto separate pieces of clear plastic (think transparency film-type plastic).
Each of these foam stamps can be used together to create one image or separately.


This is a new way of making marks for me and I am excited about it!
I've been thinking of many ways to utilize this new information.


I mottled my dye on a paper palette prior to rolling onto my stamp for this piece.

circles within circles...

x's and o's combined


a variation in scale


These are my first experiments.  They are the beginning of my journey with this idea.  I am enjoying the discovery!   I think it is very important to remain playful and experimental.  Not every print I will make will be fantastic but I intend to make lots and lots.

Guess what?  It does NOT matter if you are totally new to this or a seasoned surface design artist.  This book is easy to read and a great tool for getting started or equally good for adding new ideas to your current surface design practice.

There is even a Playful Fabric Printing Facebook Community, where we will gather fabric printers to share their work and get feedback on their processes.

Each artist on the hop is giving away a copy of this book.  All you have to do is leave a comment here (and on any of the other blogs on the hop) to be eligible for the drawing.  So don't forget to leave a comment!   I'm so anxious for people to get this book and try all the techniques, including the use of the dye mixing information that shows you how to easily mix dye colors into many different gradations.  I'll be posting some more images really soon so please drop back by and check it out.  


January 23: Melly Testa

Jan 24: Carol Soderlund


Jan 27: Judy Coates Perez
Jan 28: Carrie Bloomston

Jan 29: Lynn Krawcyzk

Jan 30: Leslie Tucker Jenison
Jan 31: Pokey Bolton

Pokey is about to surprise Carol and Melly with this cake!

Here is a shot of Pokey cutting the surprise cake (decorated with the cover of Playful Fabric Printing)
during the Craft Napa event earlier this month!


Saturday, May 24, 2014

Dye Study With Carol Soderlund at the Crow TImberframe Barn

Everyone has a bucket list.  One of the things on mine has been to take at least one workshop at the Crow Timberframe Barn in Ohio.  That dream came true this spring.
After getting better acquainted with Carol Soderlund last summer during the SDA Conference in San Antonio I decided to combine two things I wanted to do:  learn more about dyeing neutrals on cloth and taking a workshop at the Crow Barn.  Since I was going for one workshop and Carol was offering two, I thought I might as well take them both.  I am SO glad I did.
Out of respect for the proprietary information that Carol so generously shares with her students I will carefully share a few images here.
The first week I took a workshop called "The New Color Mixing For Quilters".  I learned so much!
The second week, "Neutral Territory:  50 Shades of Gray and 50 Shades of Brown".  We were on the hunt for neutrals...
The workshop setting is just wonderful as the Barn has an exceptional dye studio.  The upstairs has a design studio that is currently occupied by an independent study conducted by Nancy Crow.
Each day we are treated to nutritious, delicious lunch and dinner created by artist and chef Margaret Wolf.  Margaret has a wonderful cookbook that I purchased.  If you love to cook you will enjoy this!  The book is self-published, I think, so order from Margaret.
Here are a few images from my stay in Ohio:
A portion of the wet dye studio at the Crow Barn.  
I would have enjoyed college chemistry a lot more if we had been doing this....


Amazing to see what happens with each dye bath.  Transformational!
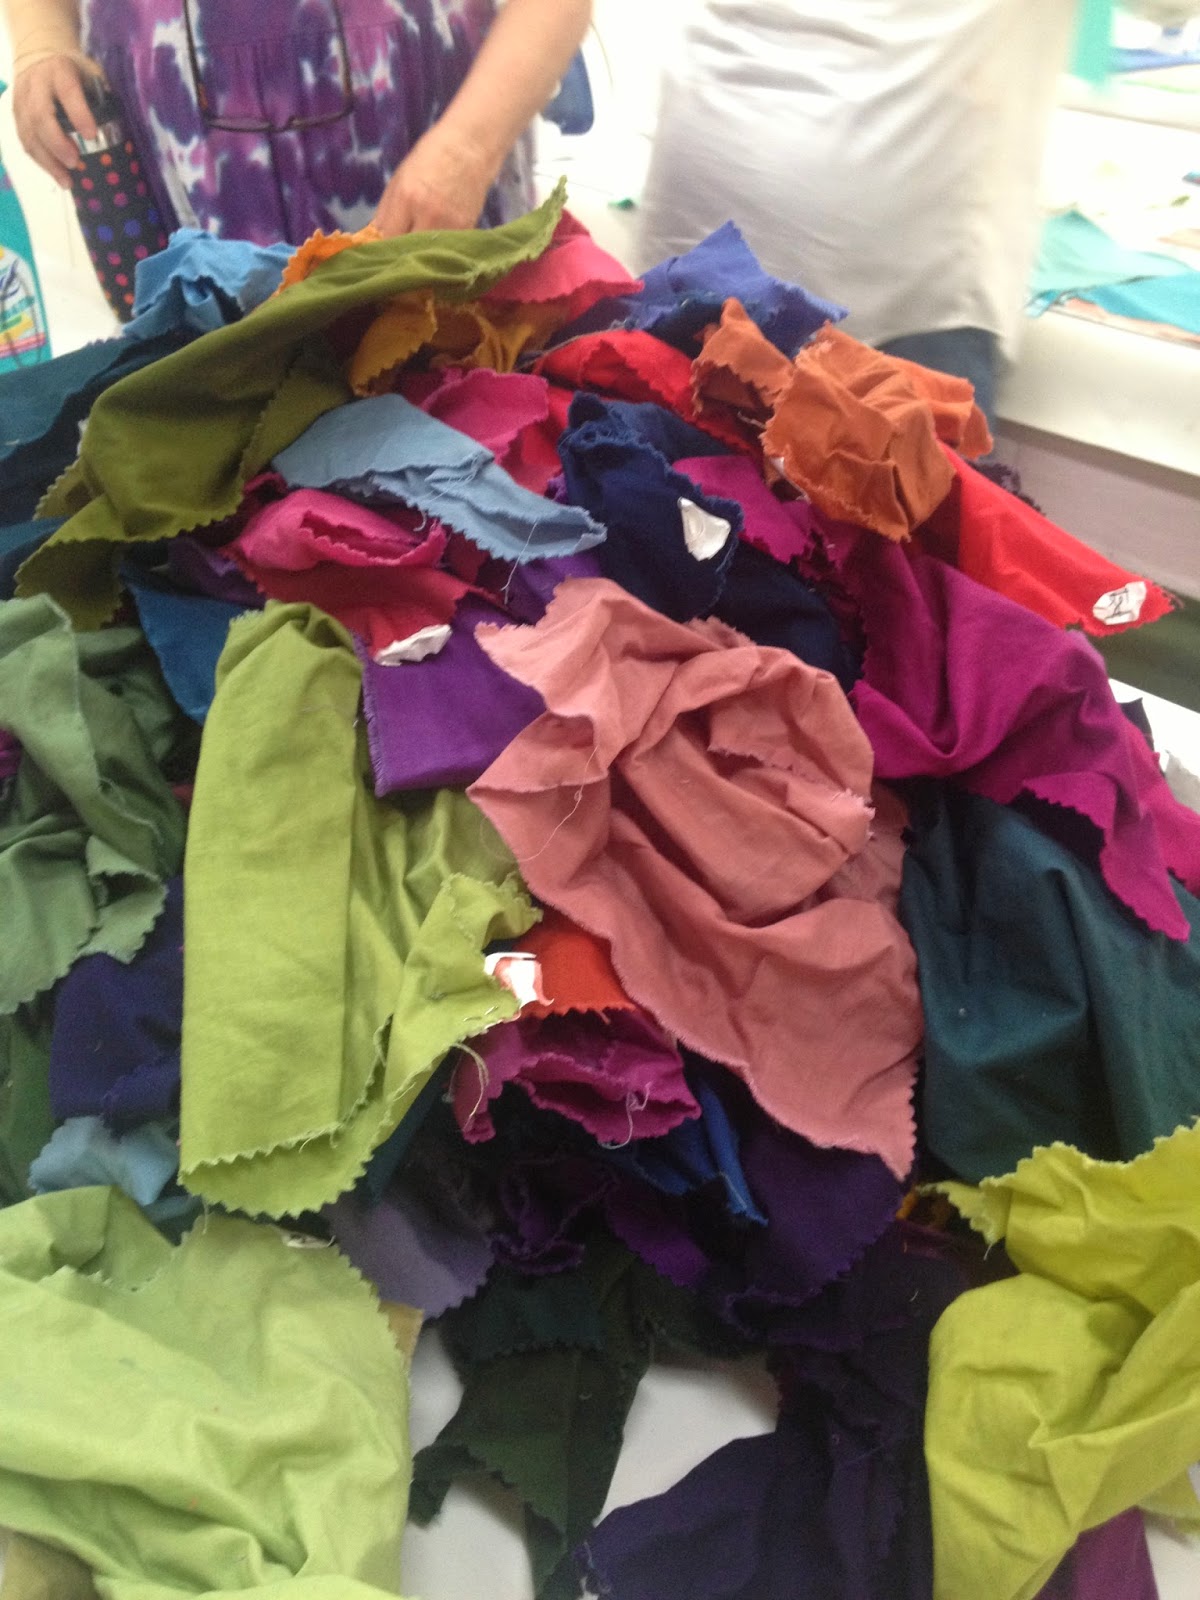
Look at all this gorgeous color.  Each piece is different!

Carol hugs all the color.

A stack of freshly dyed fabrics ready to cut

sorting all the colors...


Students work together to create a large set of colors that we use to make our dye notebooks.
Here are some of the gorgeous colors.

Trimmings....each is a different color!

Oops!  We are in the midwest and in the spring that means tornado weather....
Here we are gathered in the basement hallway to wait out a tornado warning.

Crow Barn exterior.

Carol holds up a couple sets of her dye colors. 
During the first week we created three sets using three different pure dye colors.

Some of my freeform dyed cloth:  silk, cotton, and silk-cotton Radiance.

Here is my work area at the B&B where I am staying.
I worked long hours to put together my notebook!

Samples of neutral experiments.

Chef and artist Margaret Wolf.
I love her!
Lunch at the Barn.

Some of Nancy's African basket collection hangs on the dining room wall.


As does her collection of hand-carved/decorated wood cooking tools.

Carved items are seen throughout the kitchen and dining room areas.

Dinner gathering with both workshops.


Week Two:  "Neutral Territory" experiments.  The larger "9 patch" consists
of nine different neutrals that we dyed.  There were many of these sets.
The long skinny pieces were gradations of one of the larger squares.

A peek at the lower level studio.  You can see many of the larger 9-patch sets hanging on the
design walls.  Over the week we added to these, and experimented with many many gradations 
in the search for more neutrals.  We found a lot!

Storm clouds over the town of Lancaster.  I stayed in a bed and breakfast during my time at the 
Crow Barn.  

A favorite item is this sewing machine "tractor" positioned at the base of the stairs.
I love it.