In my adopted city, these two days are a VERY big deal. Being the "Bower Bird" that I am I was most definitely attracted to all the colorful, shiny stuff associated with the holiday. Also, I love skeletons and bones of all sorts. I enjoy the rather comical-looking papier mache versions that pop up around here. Anyone who knows me is not surprised by any of this, but I thought I should explain why I was so thrilled to find these sugar skull stamps in the Lost Coast collection. I couldn't wait to play with them!
I will be using the Black Nose and White Nose Sugar Skull stamps along with the Stitch A Doily Stencil.
White Nose Sugar Skull
Black Nose Sugar Skull
Stitch A Doily stencil by Maria McGuire
To get warmed up I started with some brown and white sheets of mixed media paper. To be honest, I wasn't quite sure where I was going at first. I know myself well-enough to realize that I need to "play" with everything first and it will eventually start falling into place.
So, I began with my gelli arts mono printing plates. For this project I wanted to try using the plate with both a brayer and spray paint. I recently acquired some Liquitex spray paint. I hadn't used it on the plate and wondered how it would behave.
Next, I used the brayer to apply white opaque paint to the skull stamps.
And also to the round Gelli plate...
the plate after wiggling the skull stamps into the paint layer
In addition, I made some squiggly lines with the handle of my foam brush.
Here is the print on brown paper. I like!
Next I overlaid the doily stencil here and there to soften the edges of the paper.
Love!
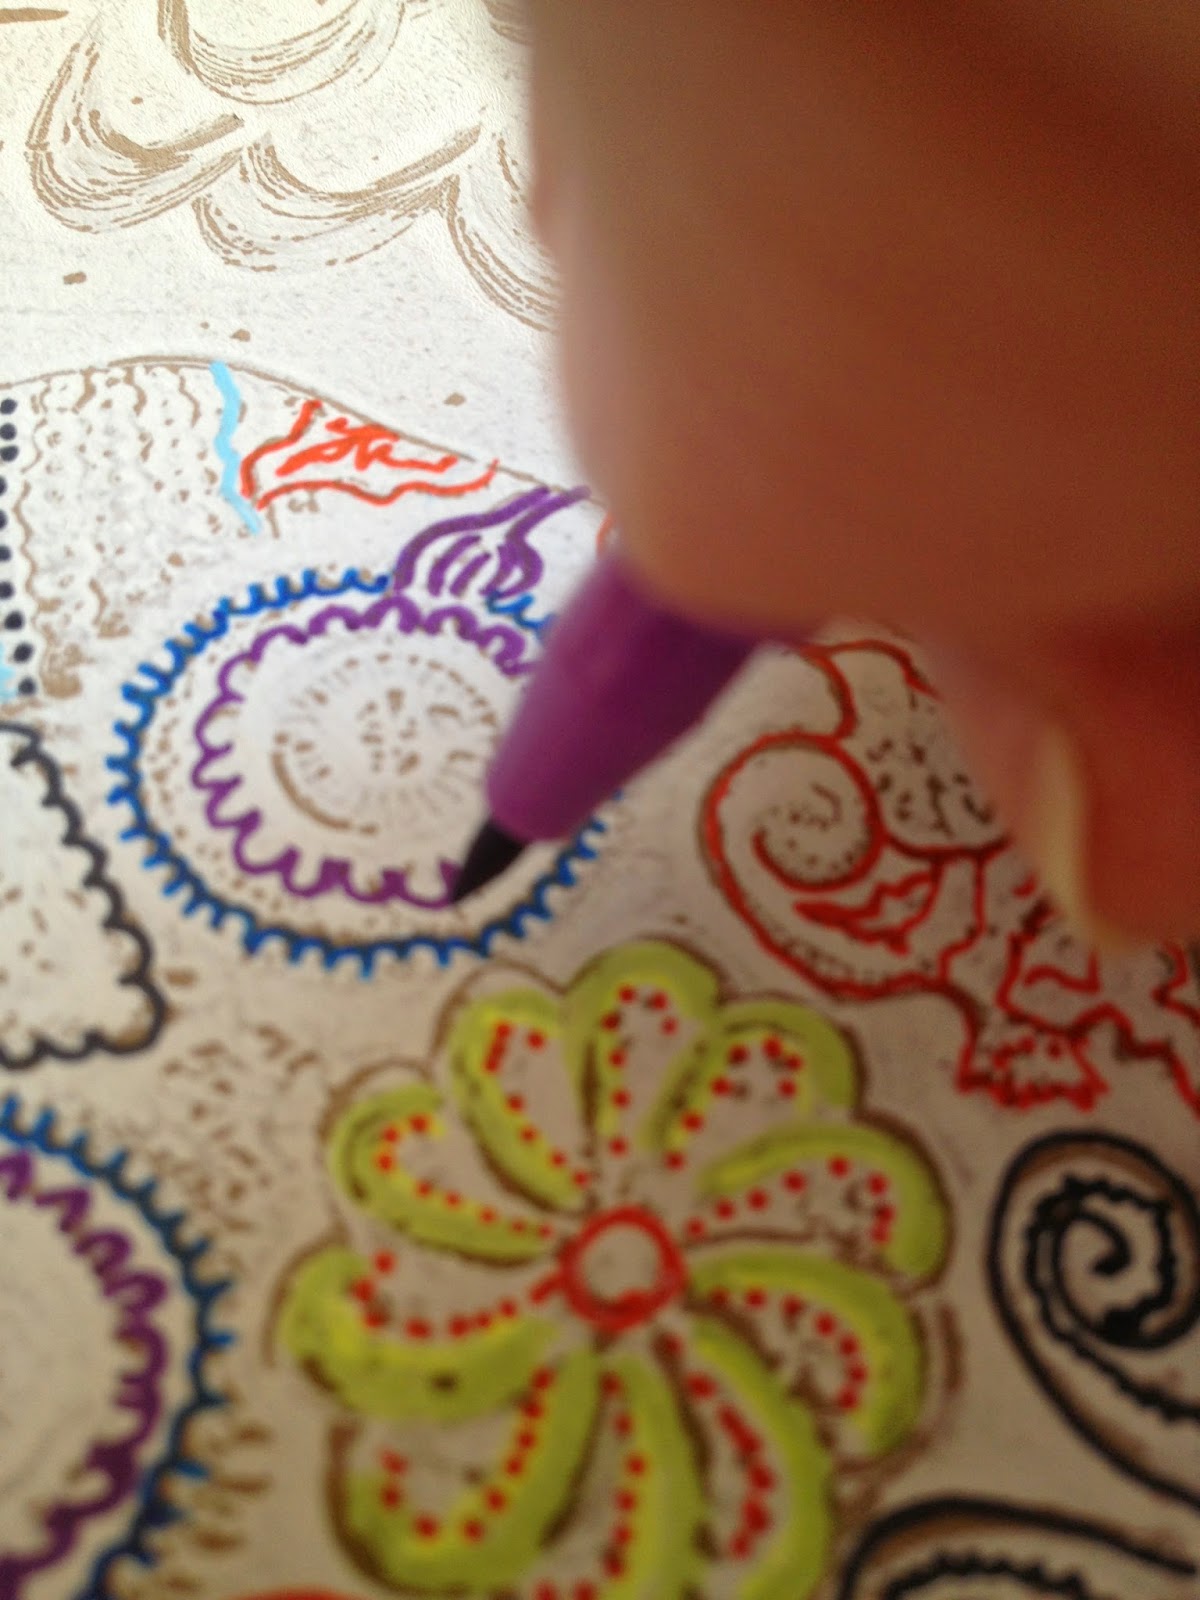
I got a bunch of markers and Sakura pens and began to "fill" the designs in parts of the skulls.
I could see the possibilities with this combination of tools.
I started thinking about some scraps of painted canvas that I had been wanting to work with. Suddenly, the project came into focus!
First, I stamped my 3 pieces of painted canvas (sized 6 inches W x 10 inches L)
Next, I stamped strips of dark gray fabric.
Using the Liquitex spray paint (in a well-ventilated, protected environment) I placed the doily stencil and lightly sprayed over the sugar skull.
I decided that I needed to bump the contrast up so I painted in the skull stamp with the opaque
white paint. I will come back over it with the stamp using black paint.
I pulled out some trim and a piece of this fun Alexander Henry fabric that has
Lotteria cards printed on it.
Now, I choose areas to add color using pens and markers.
I added grommets to each corner at the base.
I machine-stitched the fabric strips in the lower central part of each flag, and
used a piece of trim as an accent.
Using the remainder of my colorful trim I stitched the top of the flags to it at equal intervals.
I added some sari silk ribbon by pulling it through the grommets and tying.
Remember those experimental papers?
Well, I cut them up and sewed them onto the back of each canvas!
Here is the back of the flag set….
And here is a detail.
I think these will be a lot of fun to hang in a tree in my garden.
I'm not sure I'll be able to wait until fall to use them!
Thank you so much for dropping by to see my project.
I hope you will enjoy all the stops along the way. Remember:
By commenting on this and any/all of the other blog stops you become eligible for the prizes:
Two 9" x 12" stencils from StencilGirl and a $25 credit in the Lost Coast Designs store to ONE lucky winner!
Look at the giveaway goodies!
Look at the giveaway goodies!
Blog Hop Order:


